Dawn Jeans Pattern Review
I’m finally writing a little pattern review of the Dawn Jeans pattern. It only took four pairs! This pattern is so special and deserves some lovin’ here on the blog.
The Pattern
I have made four variations of the Dawn Jeans. This pattern is by Megan Nielsen, and I should mention one of the first ever indie sewing patterns that I purchased was her Darling Ranges dress. To say the lease, she’s been in the pattern making business for quite some time. This fact is obvious upon reading through her instructions. They are very in depth and if one was just beginning their venture into jeans making, this pattern is the way to go.
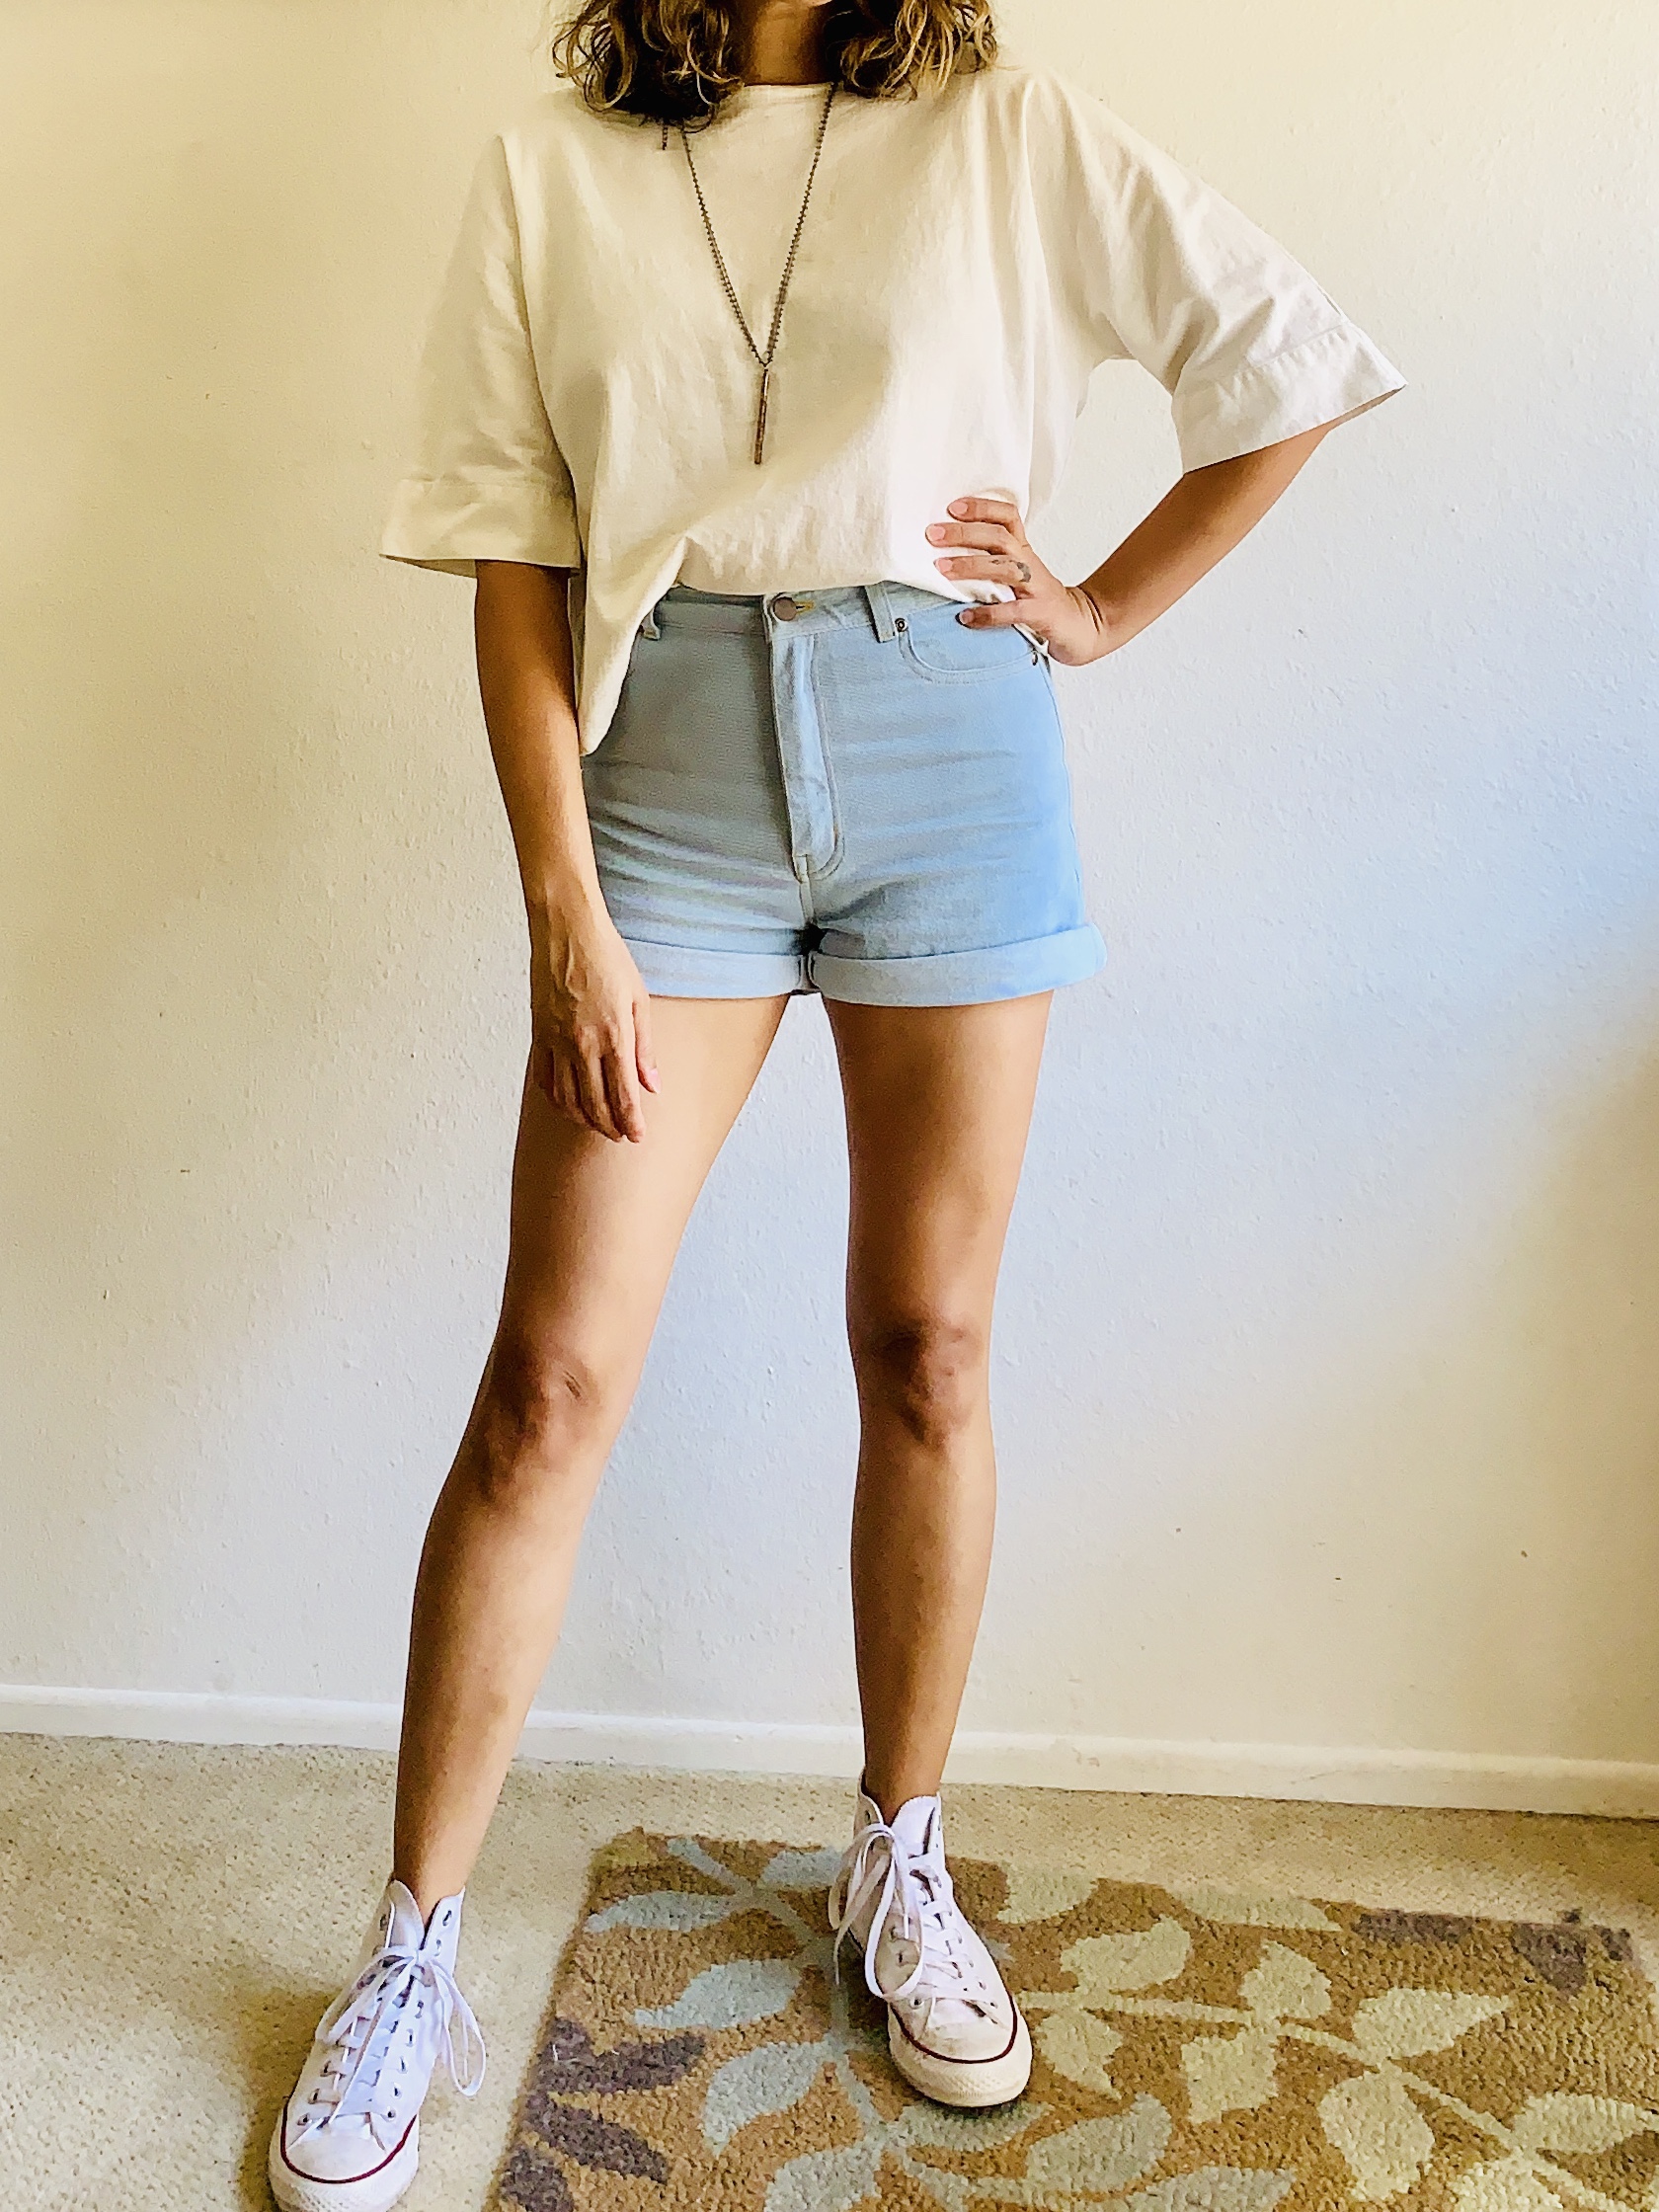
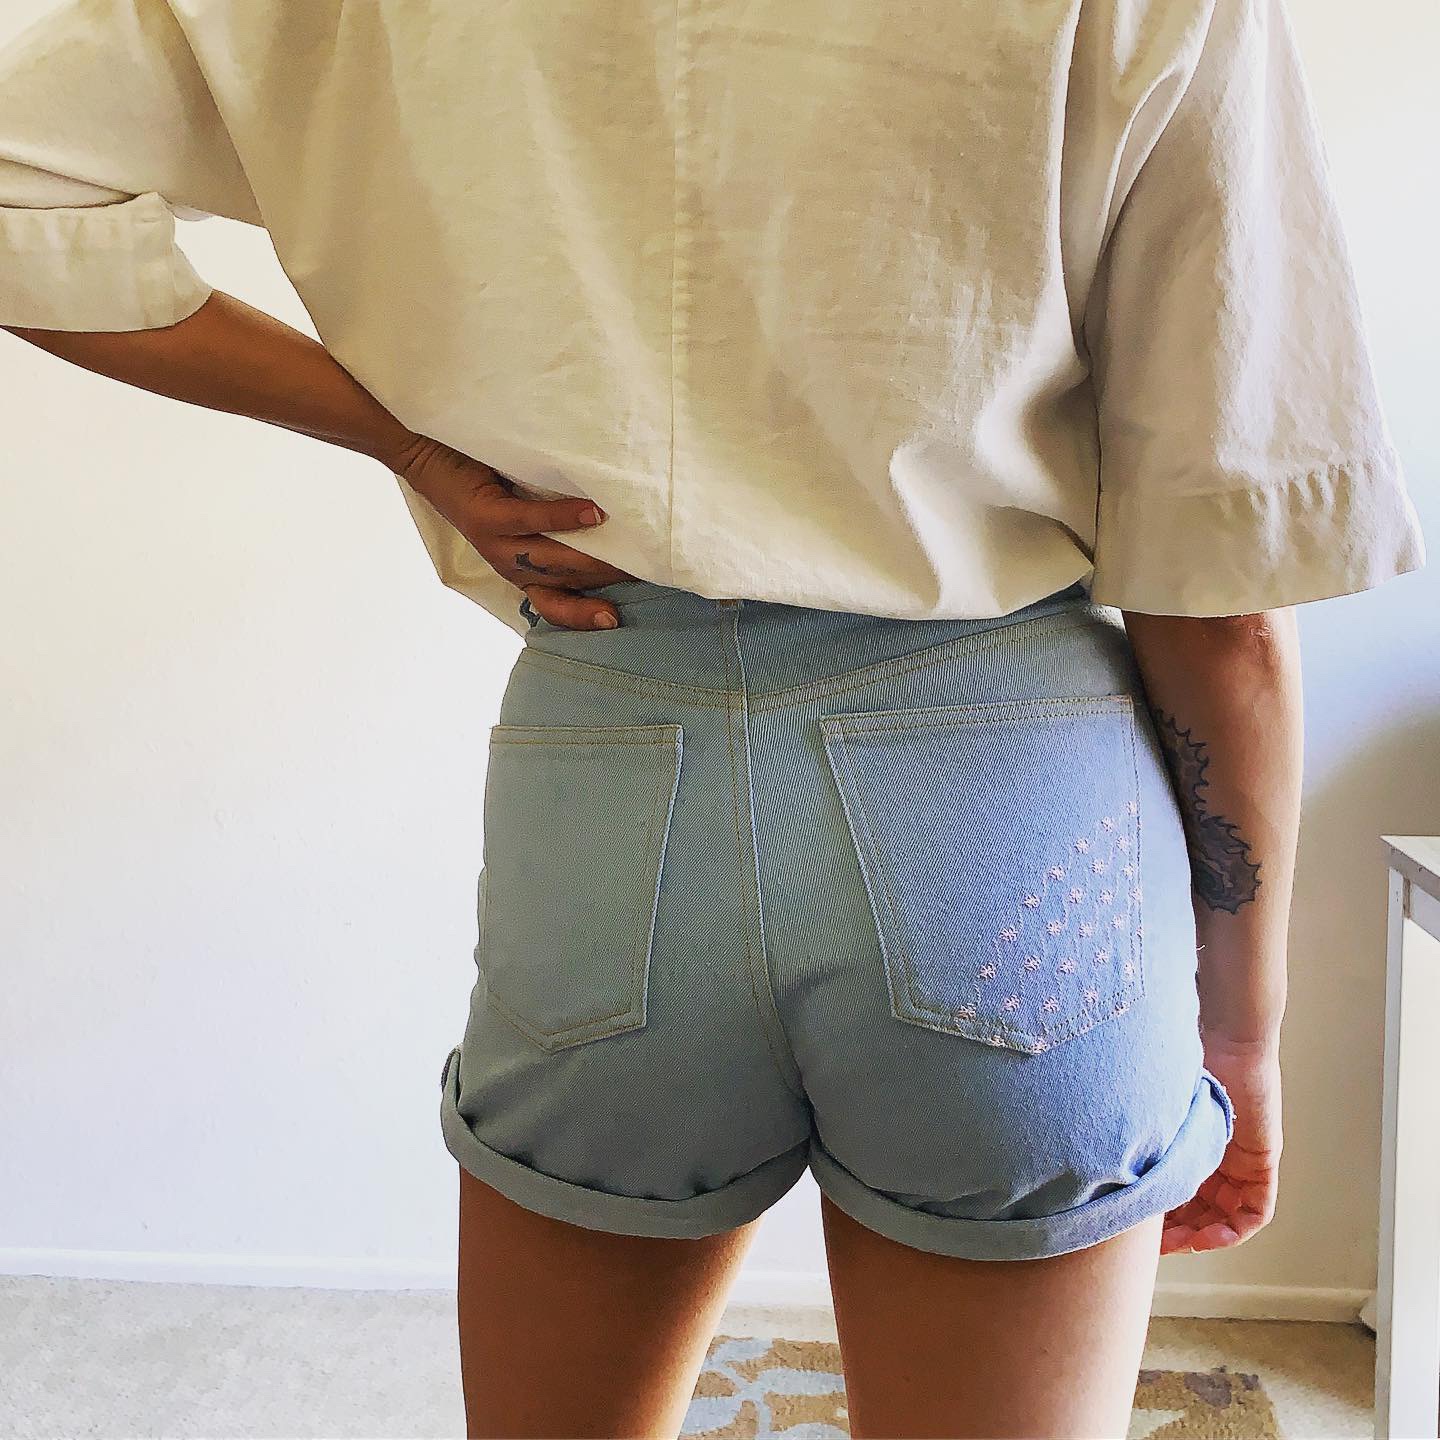
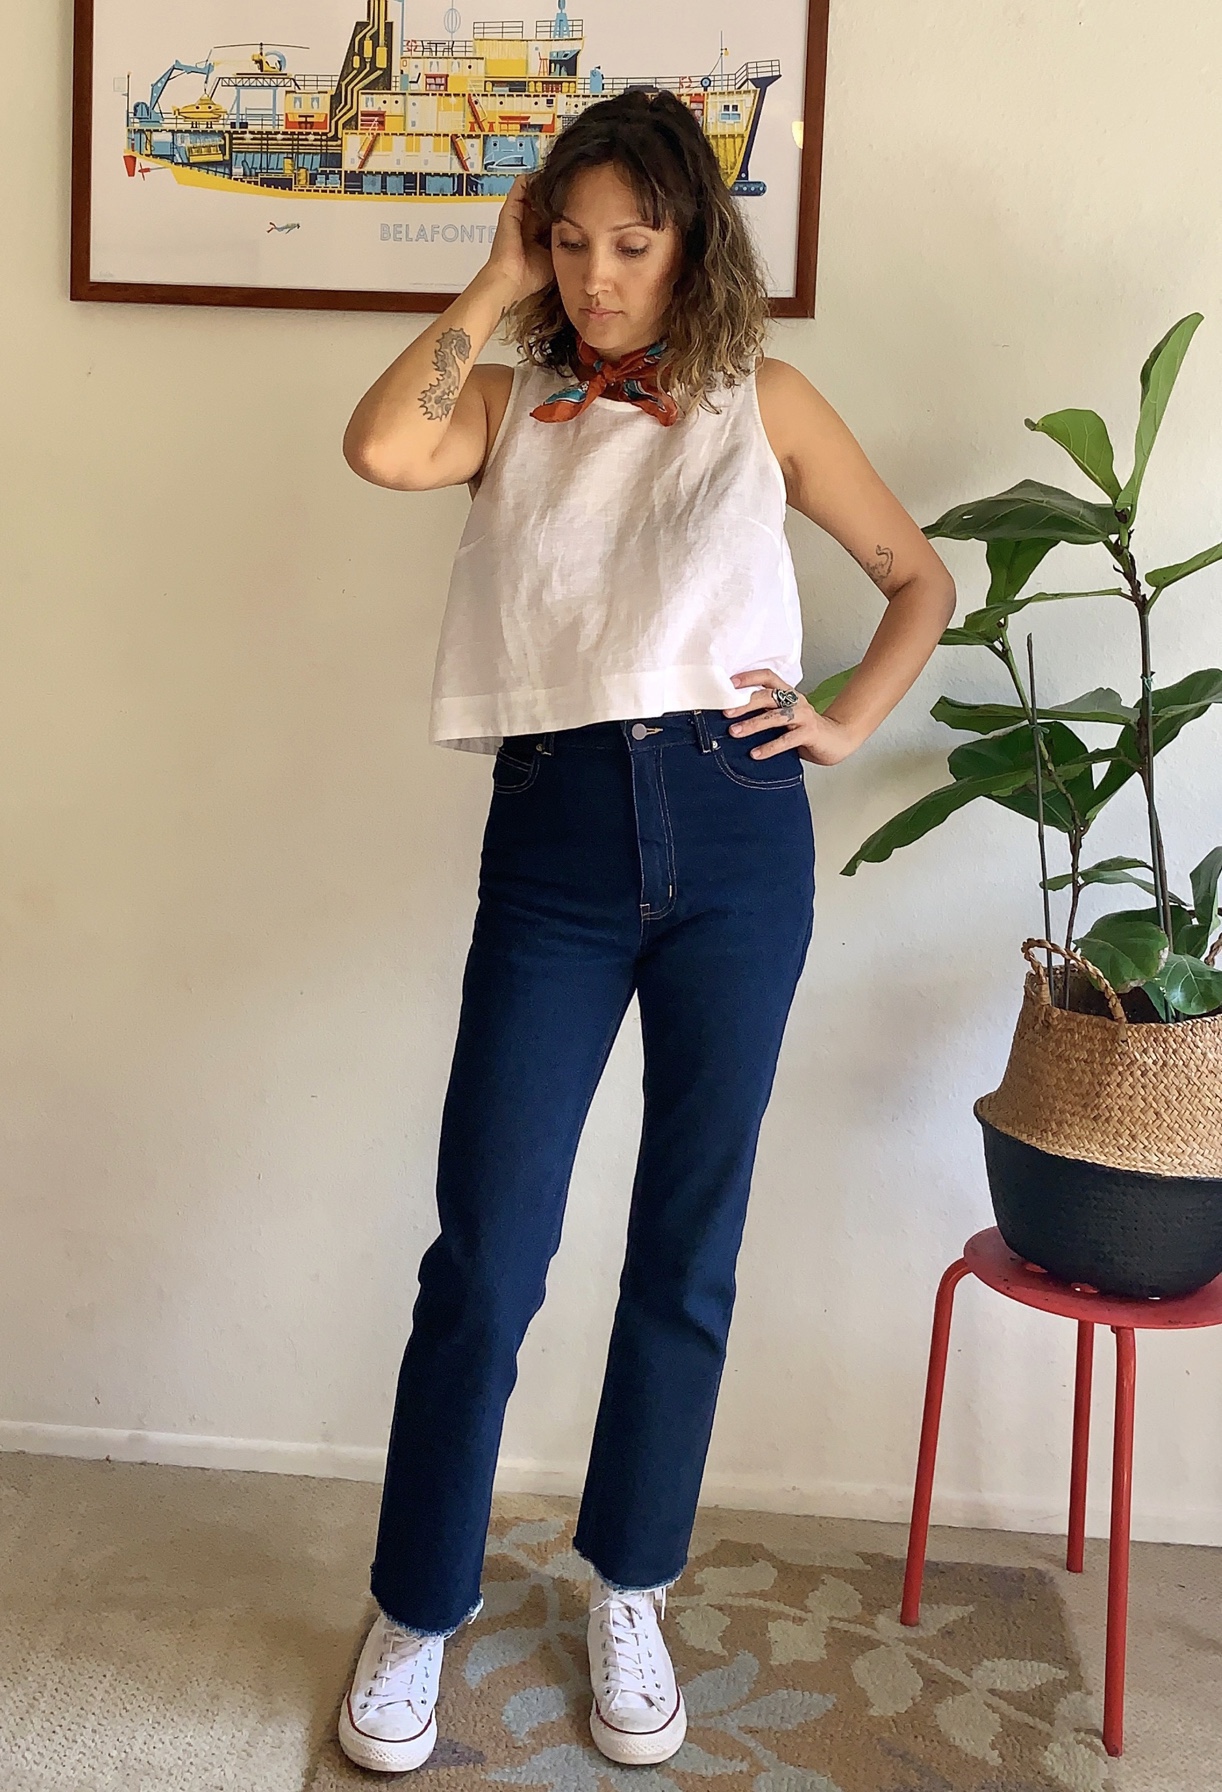
I love the style of these jeans. Through my experience with jeans so far in life I’ve learned that I prefer rigid jeans over stretch. Preferences aside, these jeans are very on trend at the moment. The waist is high, the fit it rather tight to start off, and mom butt, in all it’s glory, is hot again. Yay! The Dawn Jeans pattern includes options for a very wide leg (wider than Persephone Pants for reference), a tapered leg, a straight leg and shorts! It includes lengths for tall, petite and even cropped options for both heights. Furthermore, let’s not forget the numerous jeans closures included. You won’t run out of ideas with this one.
Finally, but most importantly, there is something about making jeans that is incomparable to other sewing tasks in my opinion. I find it somewhat cathartic – all of the steps and switching of threads, the numerous pieces, the hammering, the precision required in neat topstitching, the trying on to asses the fit. It’s a huge task and at the end you have a garment that, at the beginning of my sewing journey, I would have believed impossible to make with my own two hands. I don’t think there are many things cooler than that and this pattern will hold your hand straight through to the end.
Some Dawn Jeans photos…
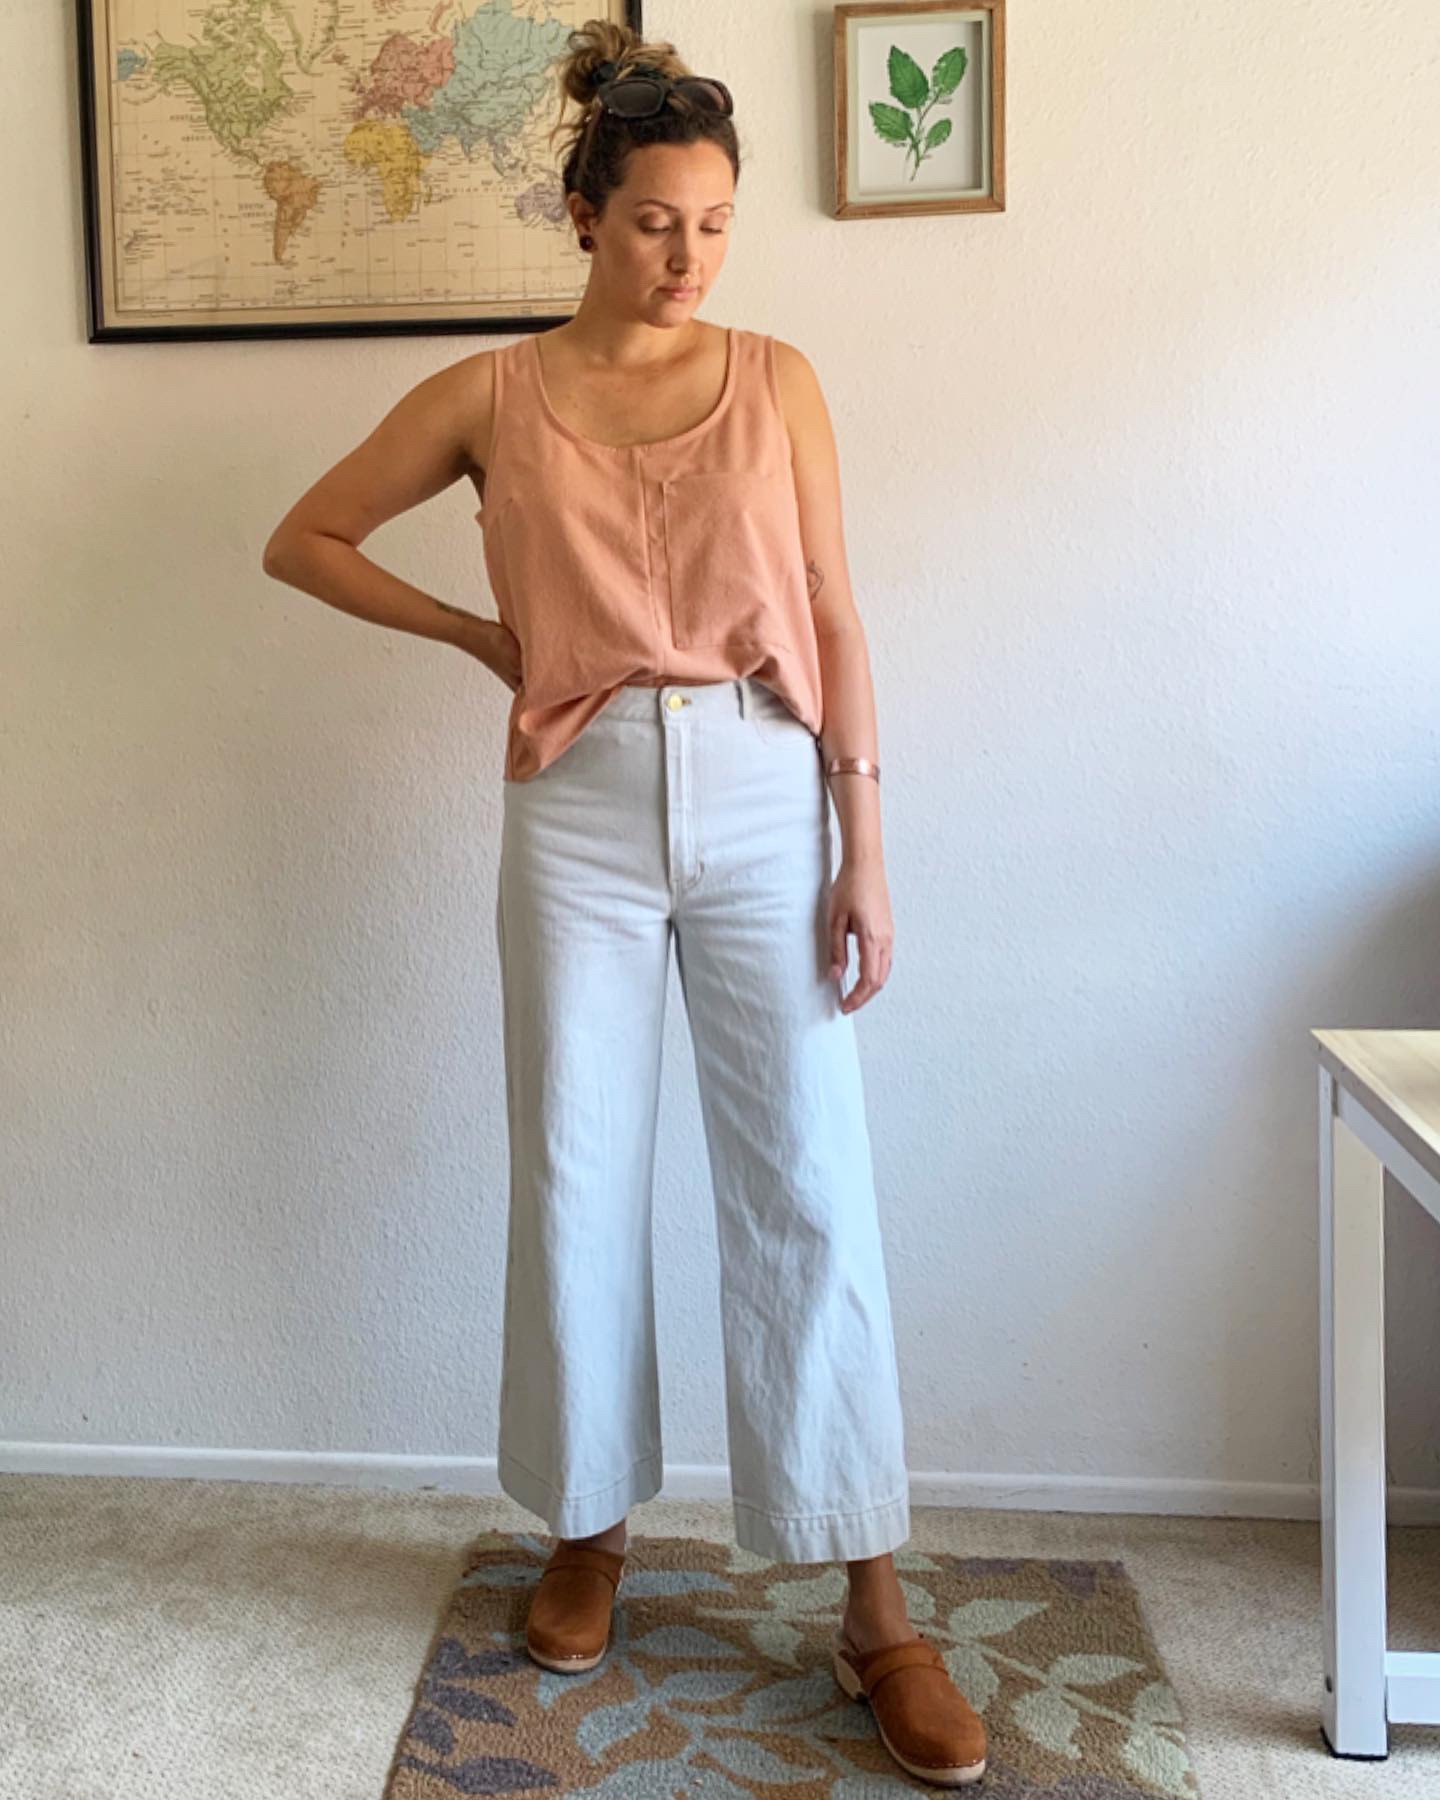
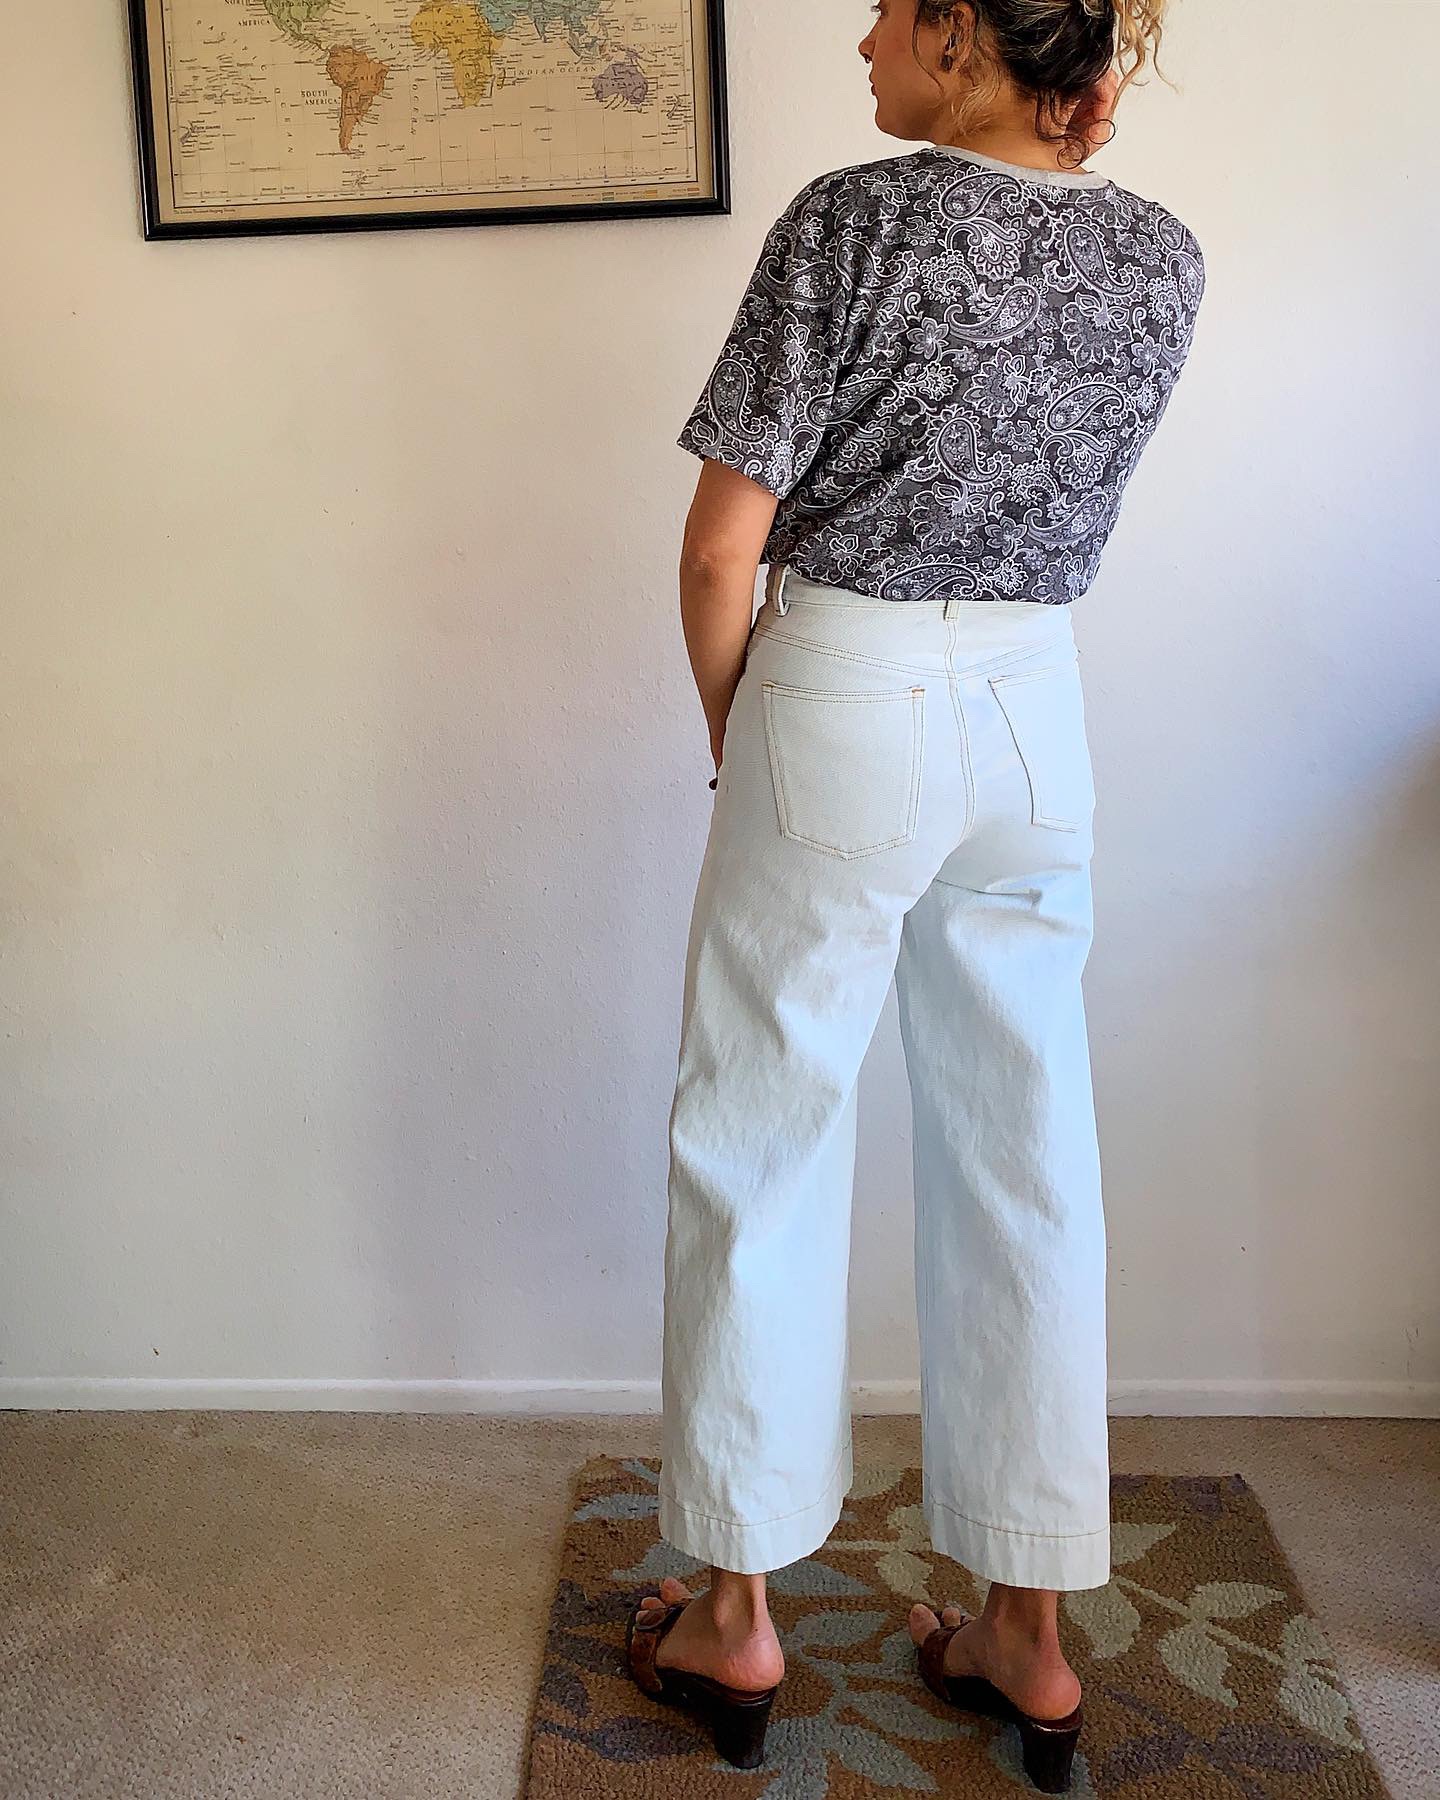
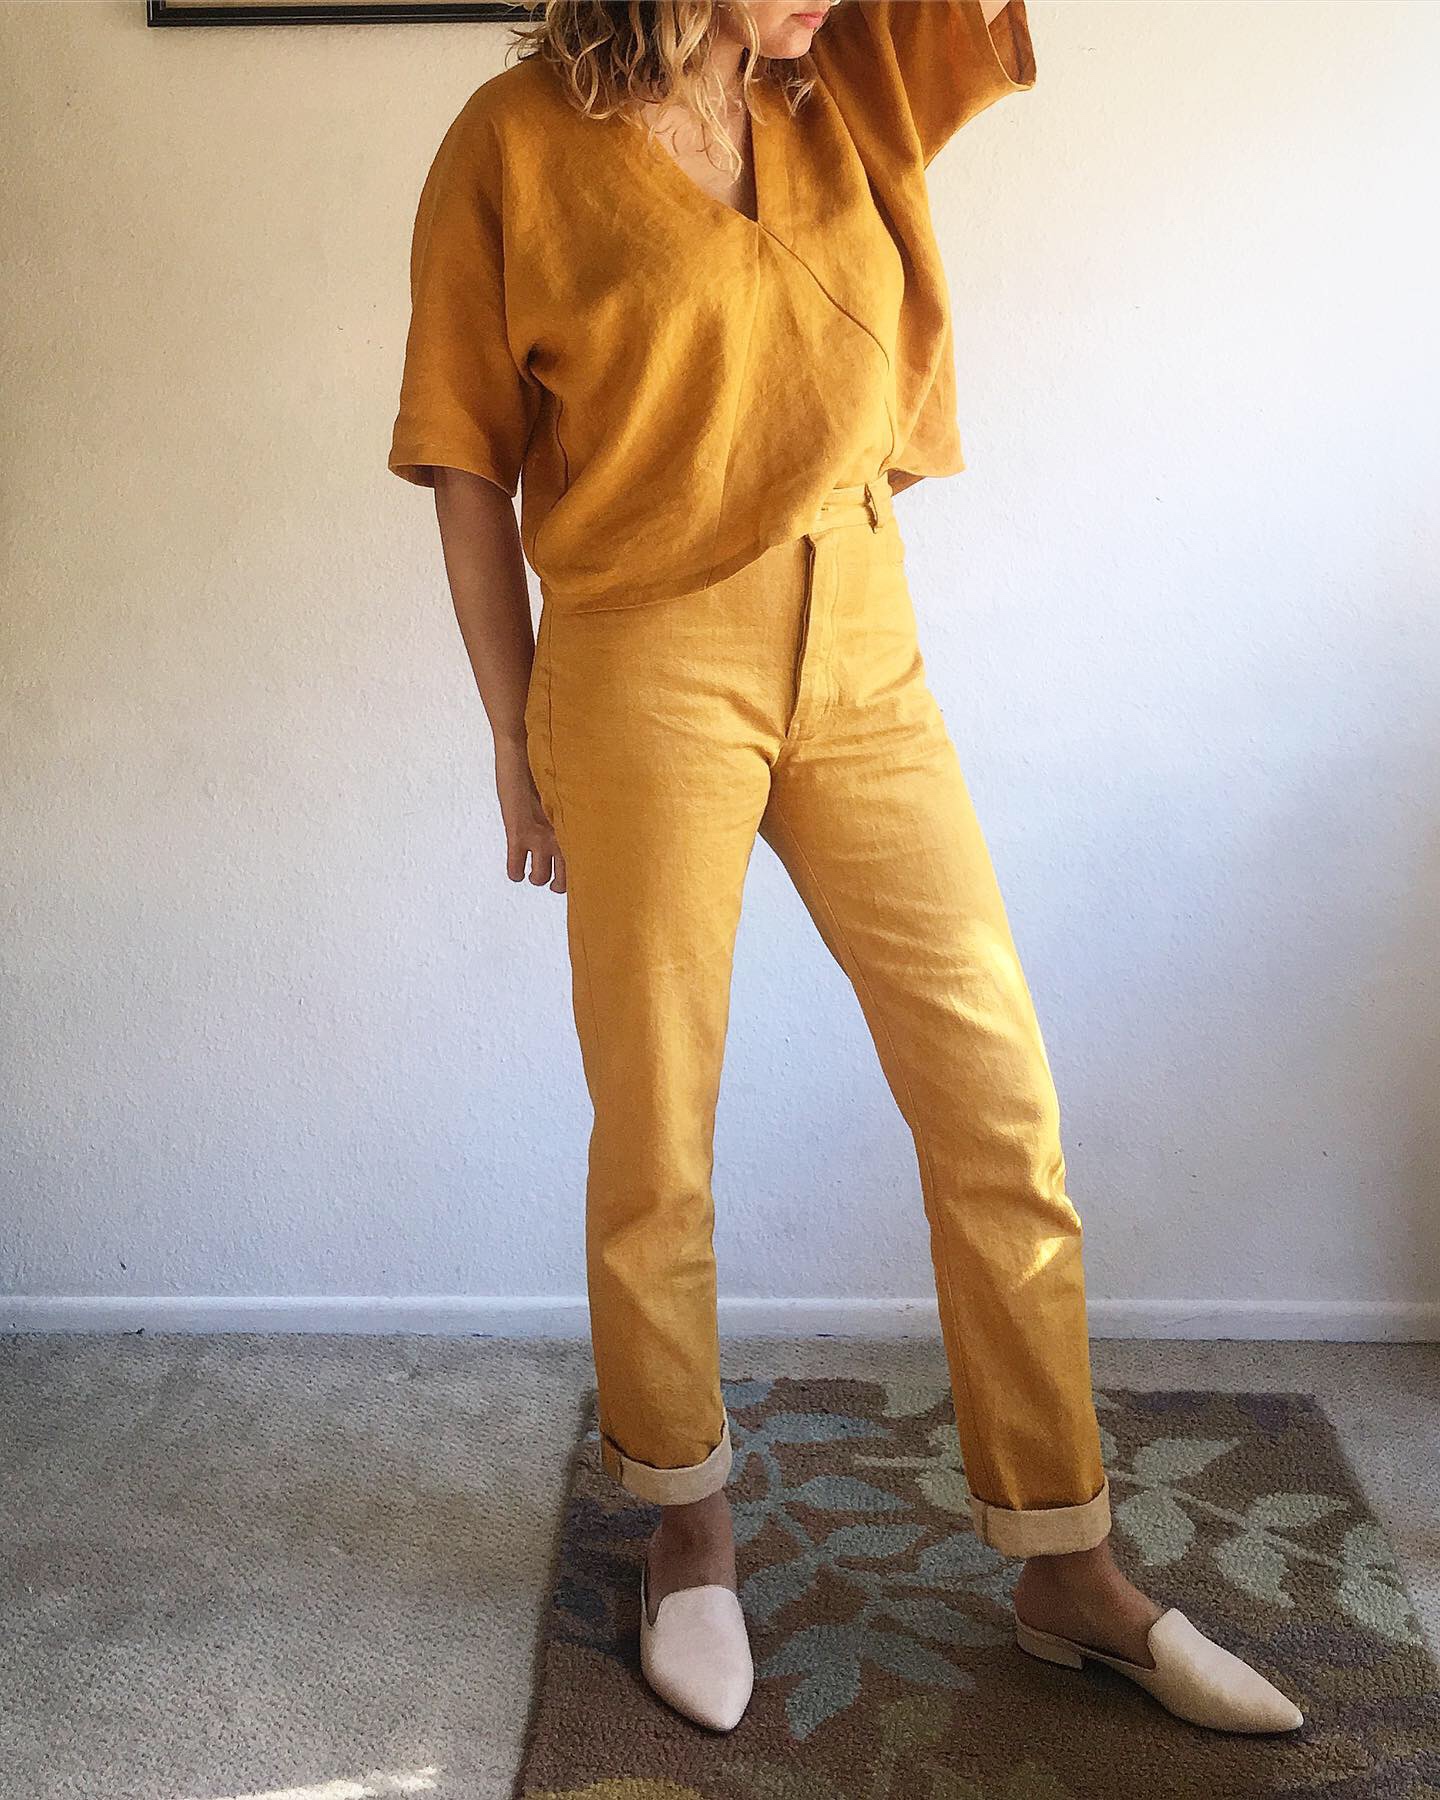
The Fabric
Today, in my thirties, I have no patience for super restrictive clothing. Stretch jeans or, even worse, the “jegging” are in that category for me now. I find them so uncomfortable. Rigid jeans, even if they start off tight, will usually loosen just enough to allow for freedom of movement after wearing. Your legs and your crotch won’t feel like they’re being squeezed all day. That is the direct way to my heart, right there.
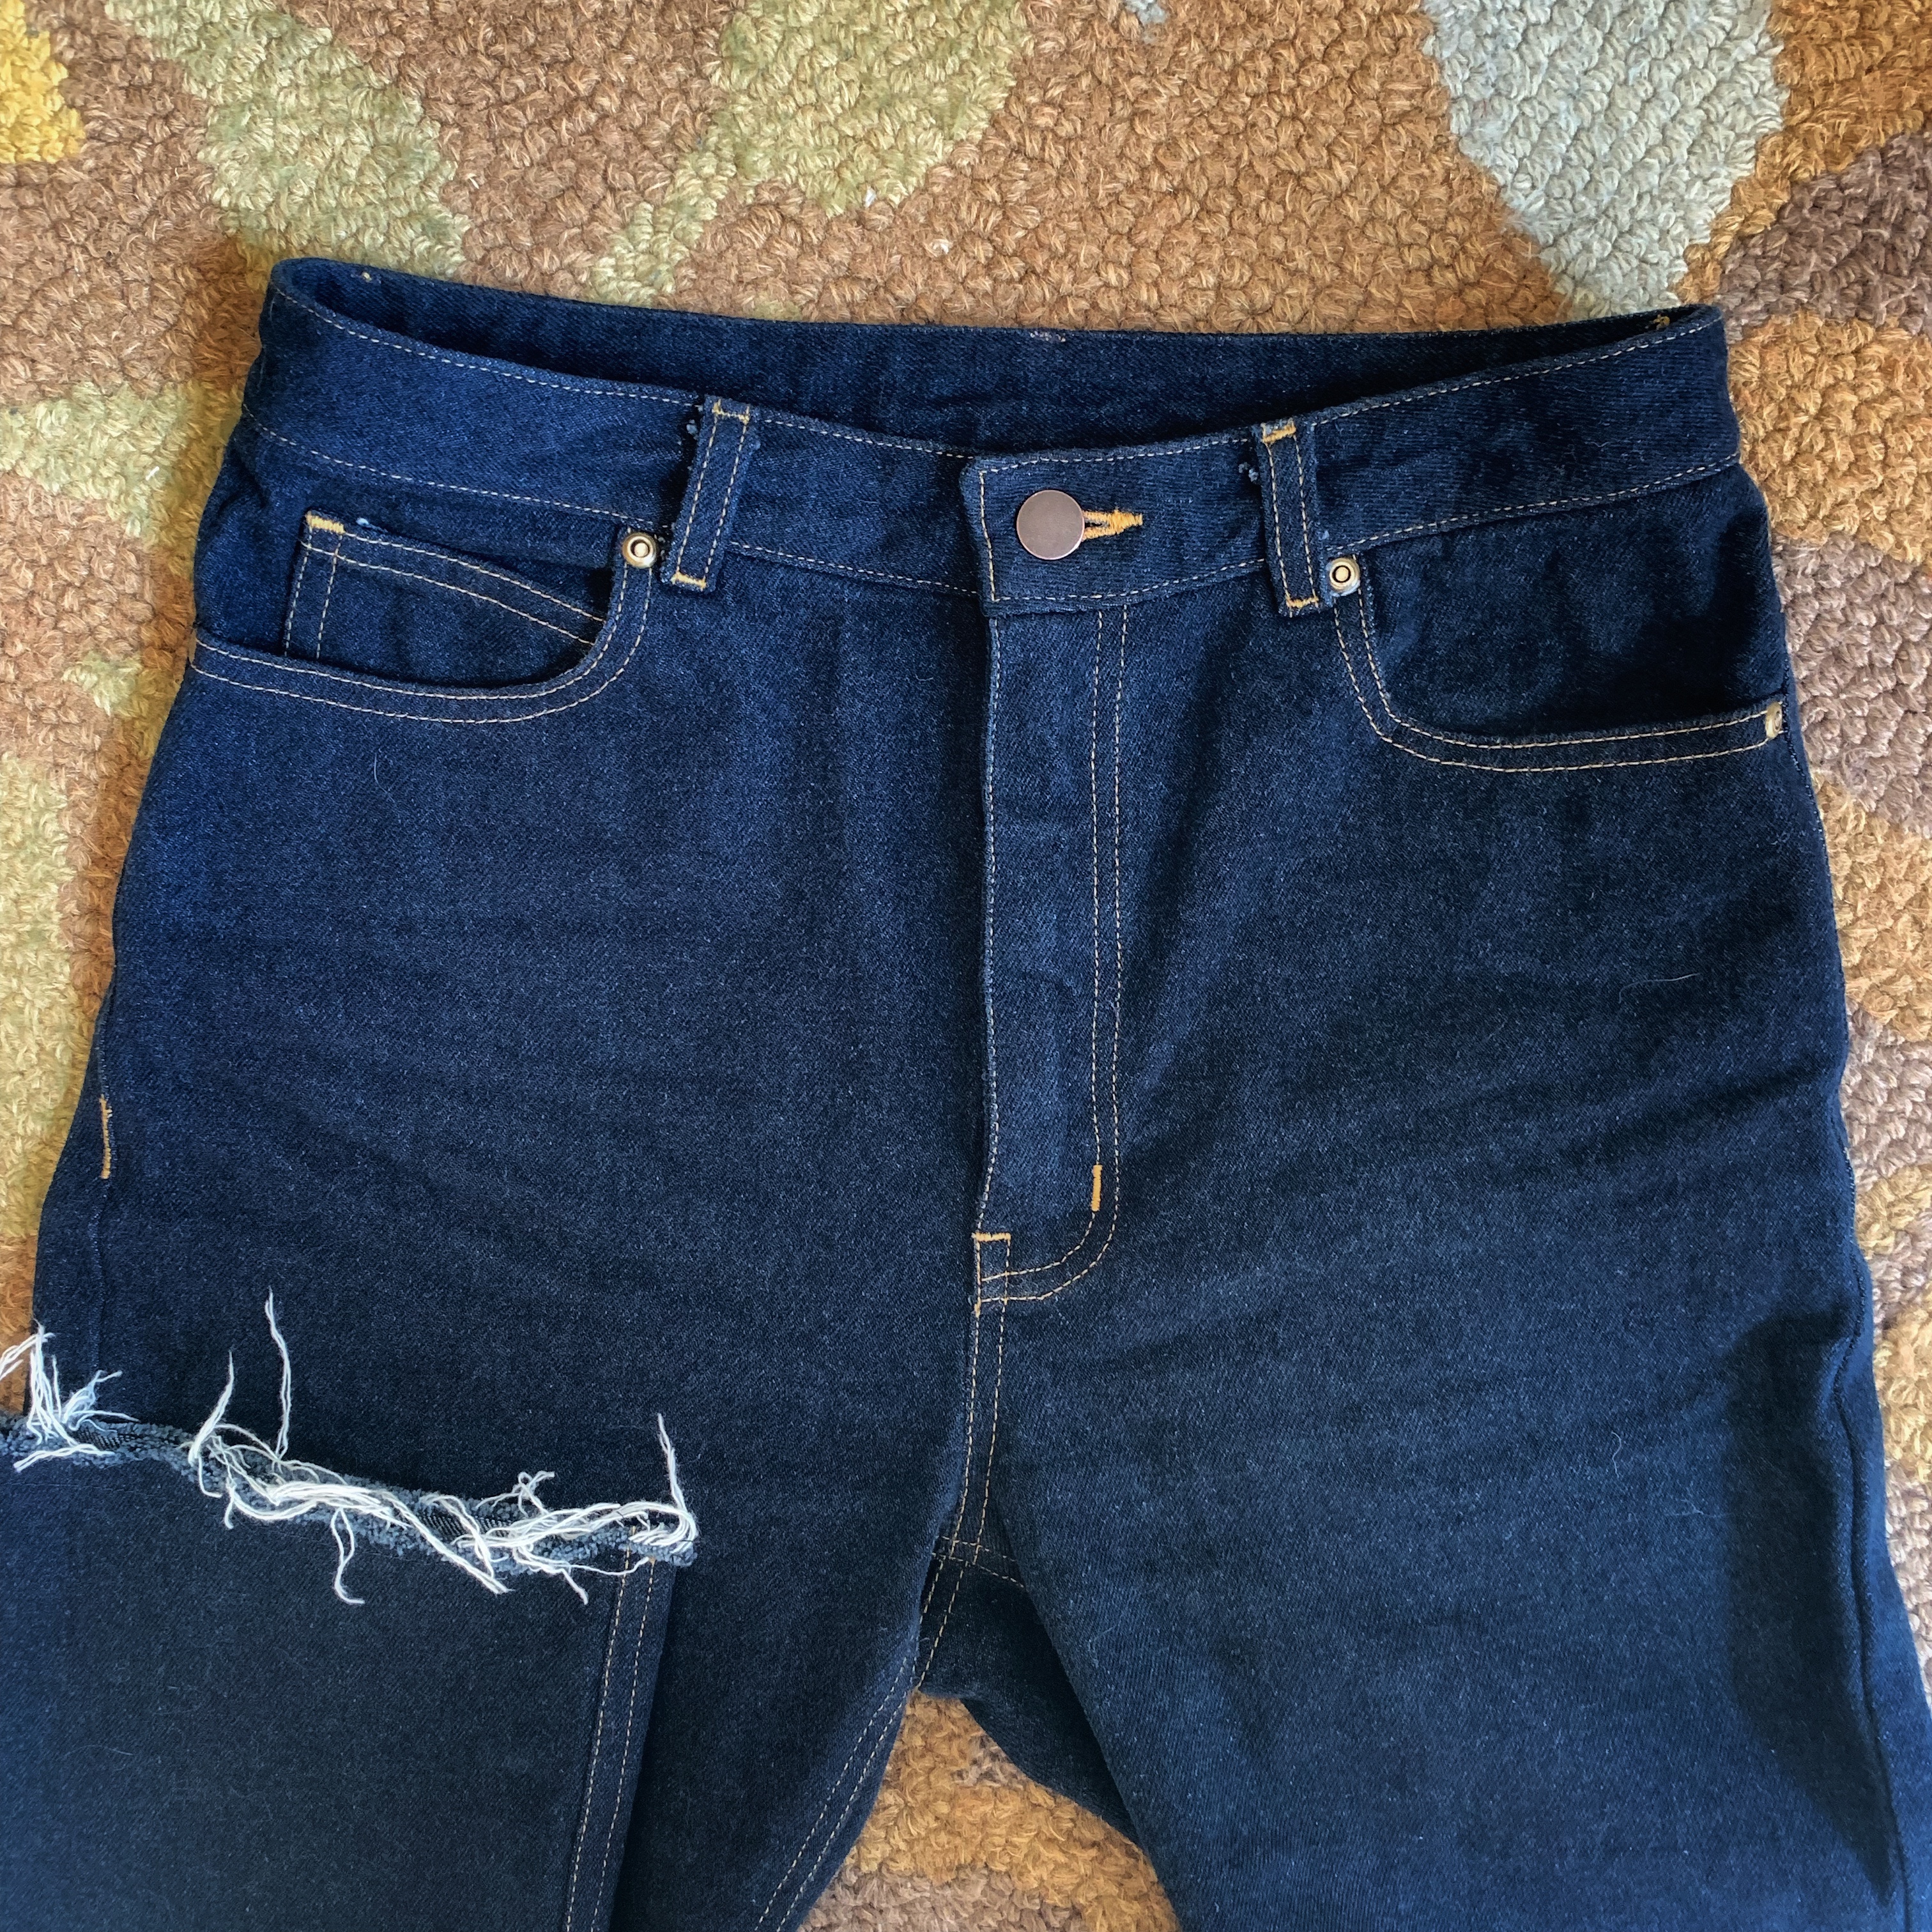
For my most recent version I used 11 oz denim from Joann fabric (you’ve gotta love those coupons.) Joann has great options for denim and linen, especially if you’re on a budget. We have a trip planned soon to visit the Midwest and it’ll be chilly. I really wanted some simple straight leg jeans for this trip. This denim is so soft and stretches out nicely so far. Not too much bagginess and so comfortable.
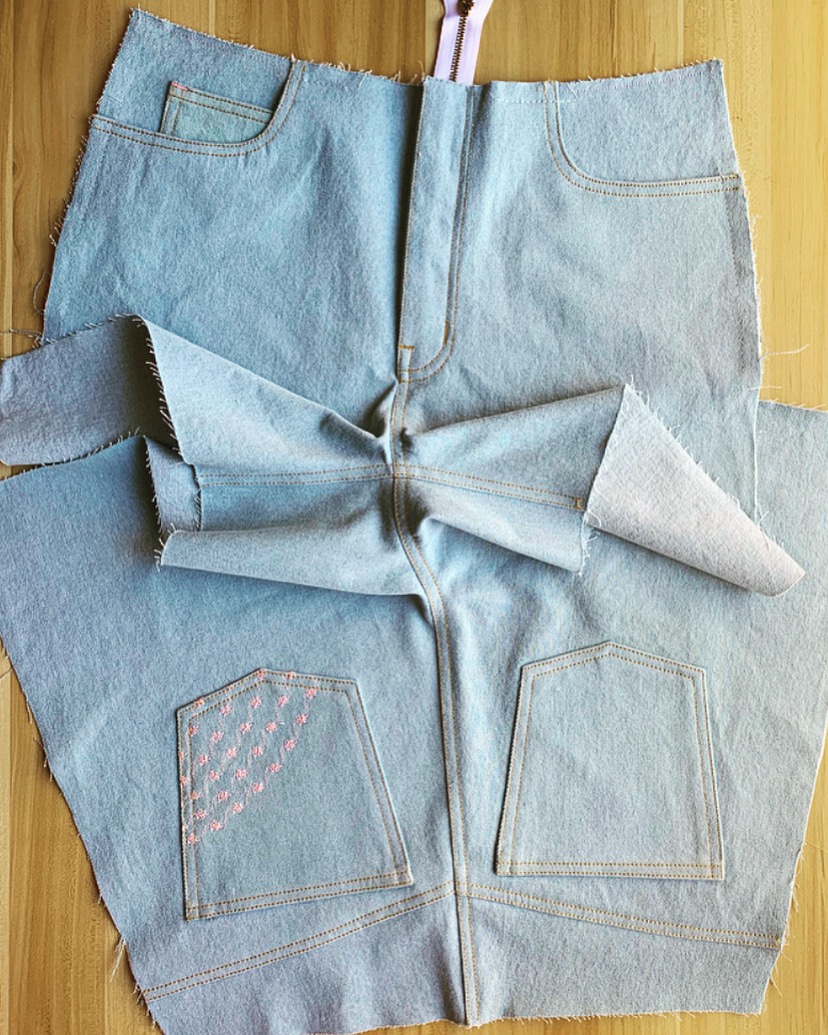
Construction
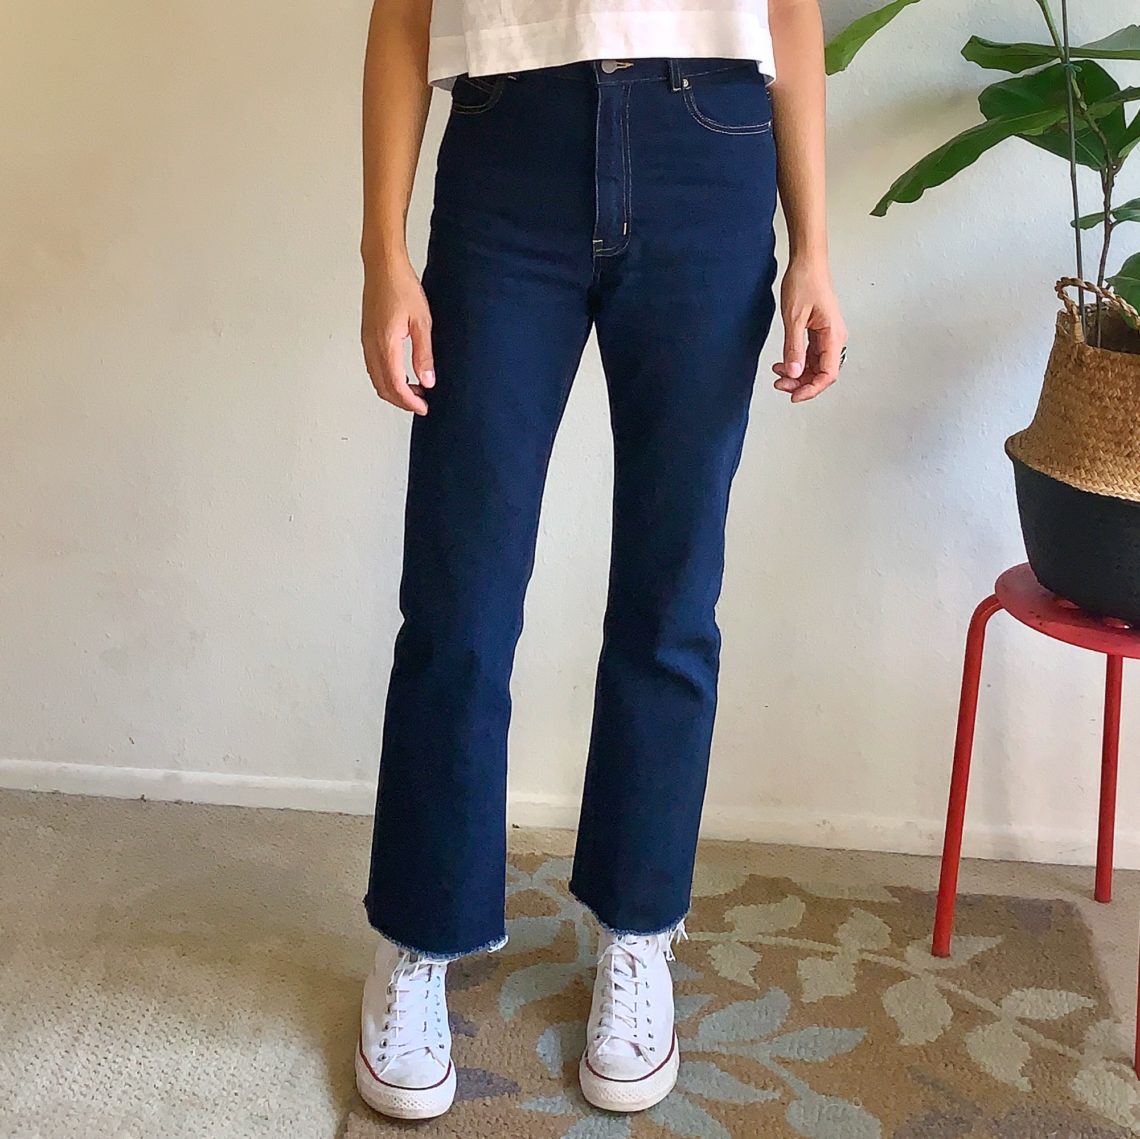
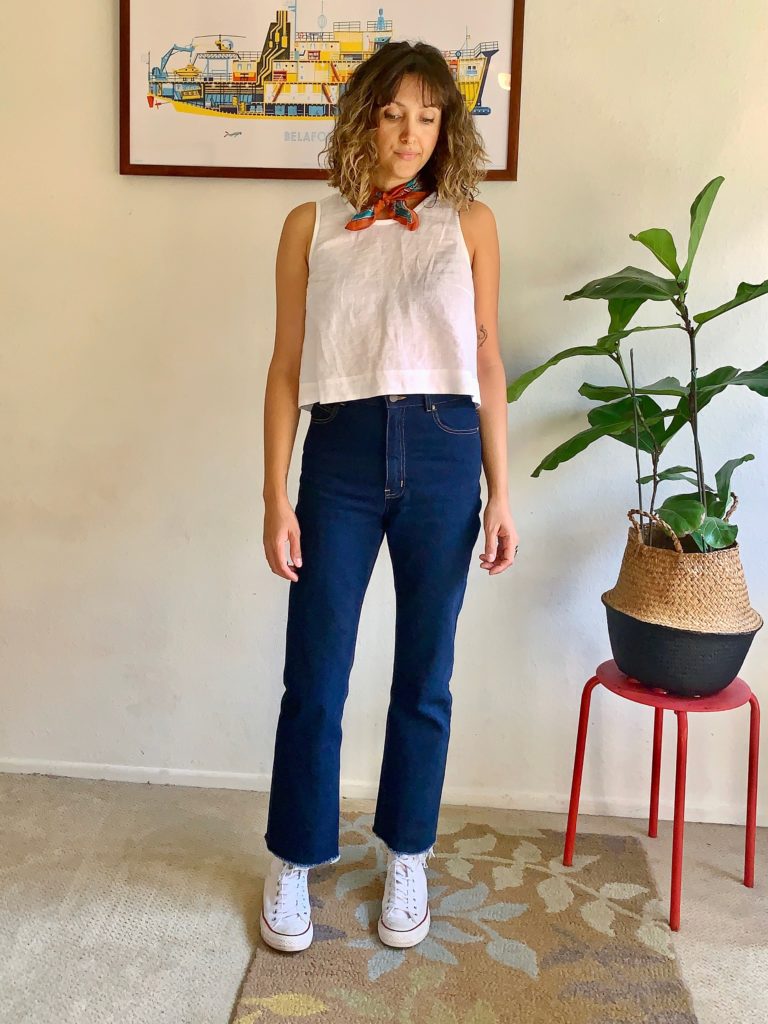
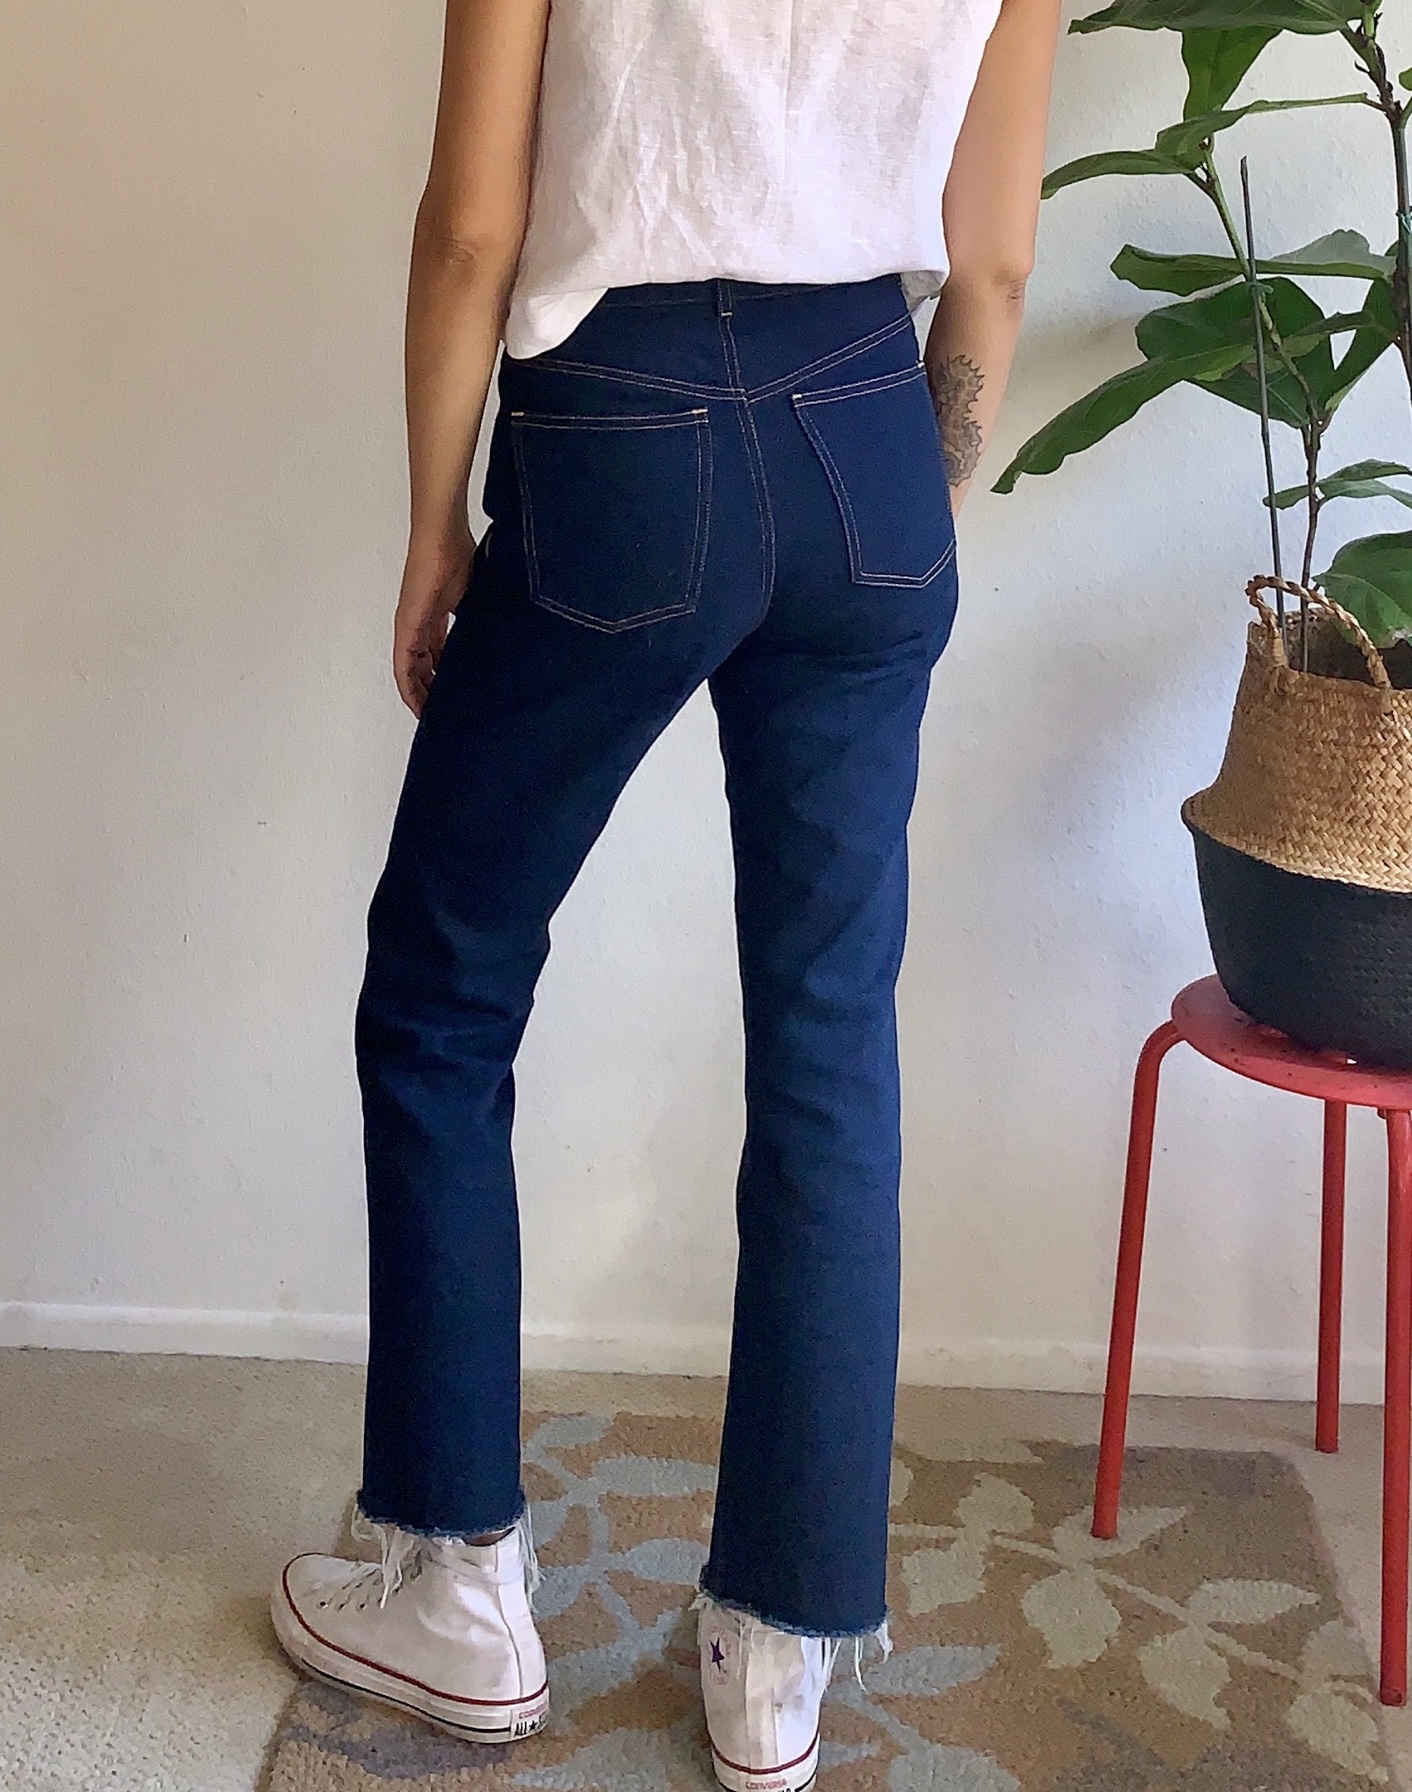
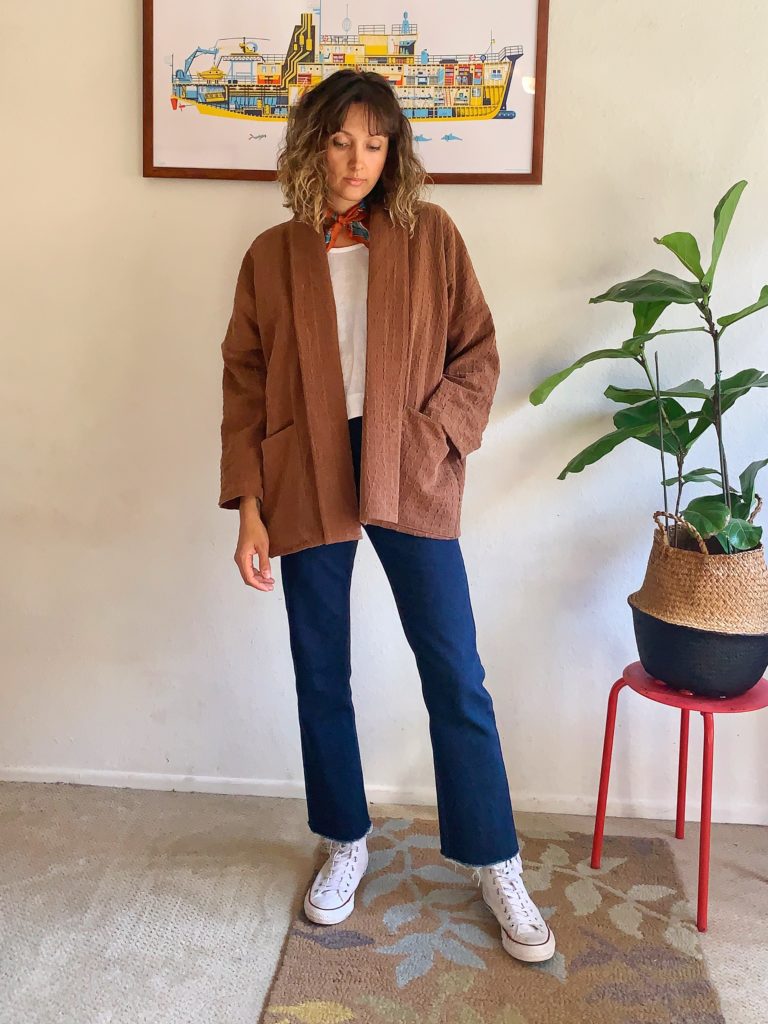
As mentioned above I decided to go with the straight leg version. I cut the length at the Tall/Cropped line and it sits right above the ankle. I considered trimming a little more off the length, but I think I’ll leave it and let it fray for a bit. I sewed a straight line in navy thread about 5/8” from the bottom to allow it to fray some, but hopefully not too much.
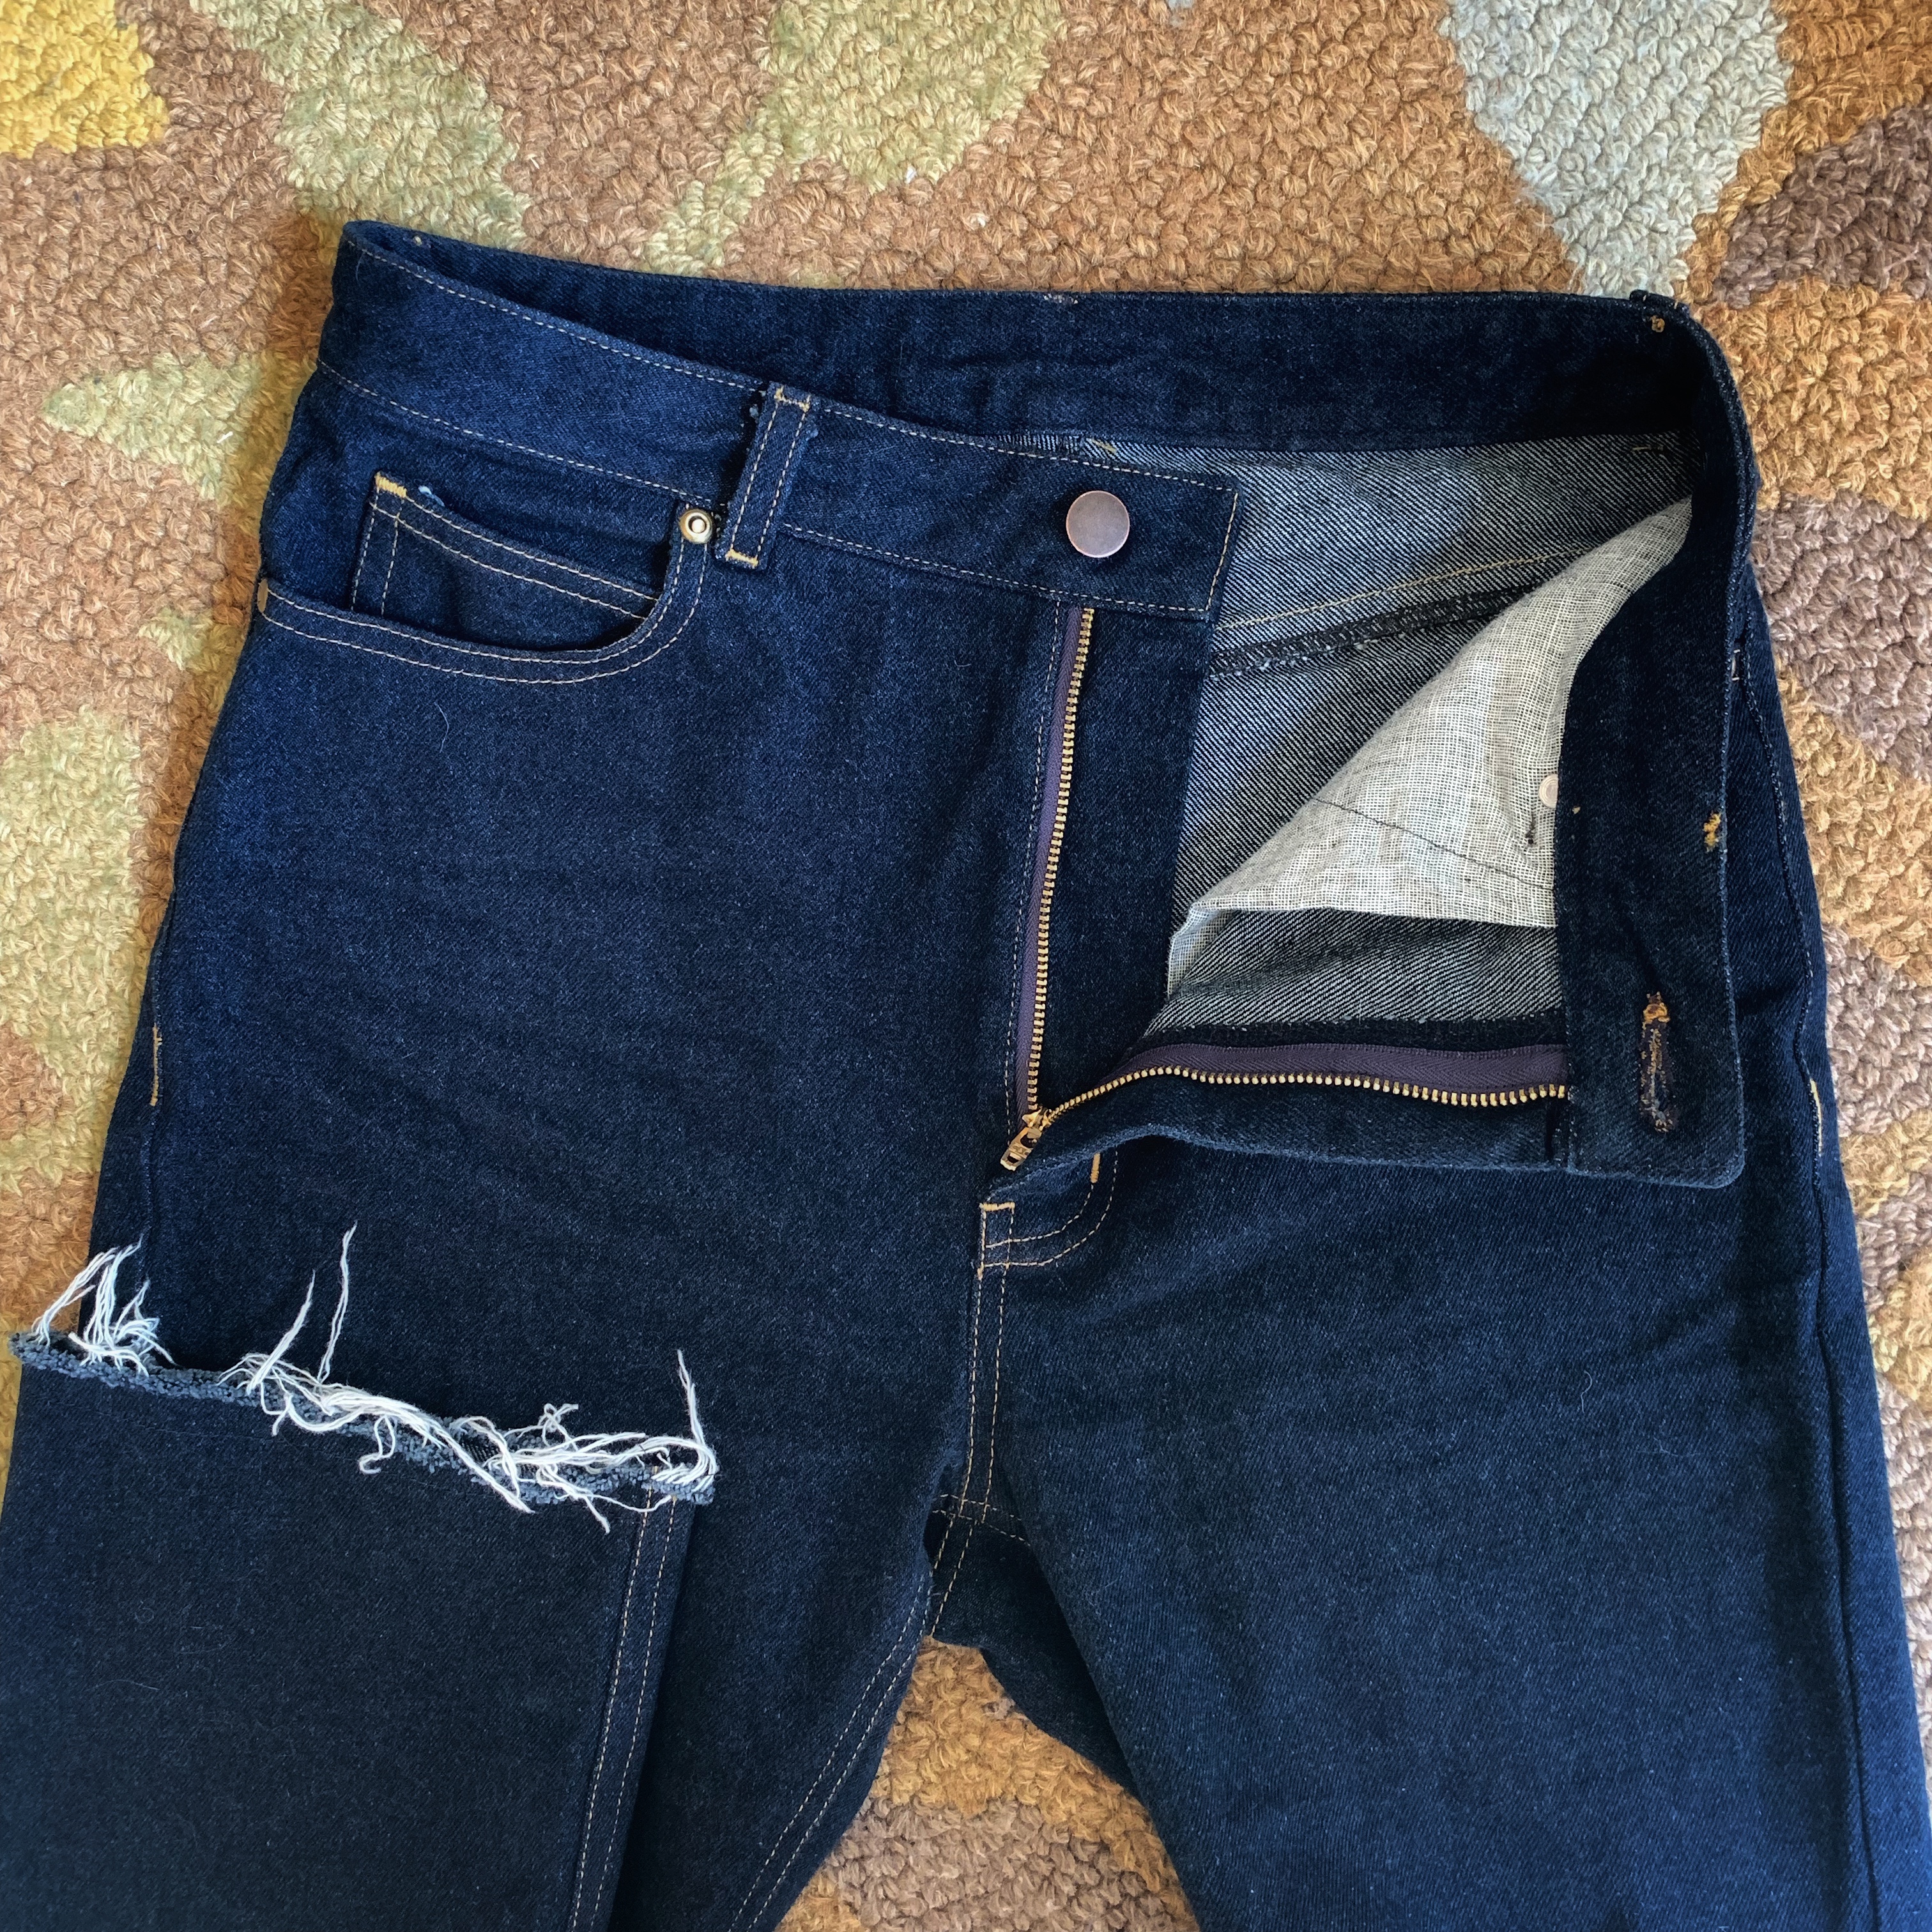
An important thing to add here is that the instructions for the zip fly are so very good. I love this method and so far end up with a lovely, straight, hidden zipper ever time. Button fly’s are great too, but the zipper definitely helps my not so smooth tummy look slightly smoother, which is always a plus. #momproblems
Note: There is a long and detailed “Dawn Shorts” story highlighted on my Instagram page with a whole lot of step-by-step photos and tips!
Notions
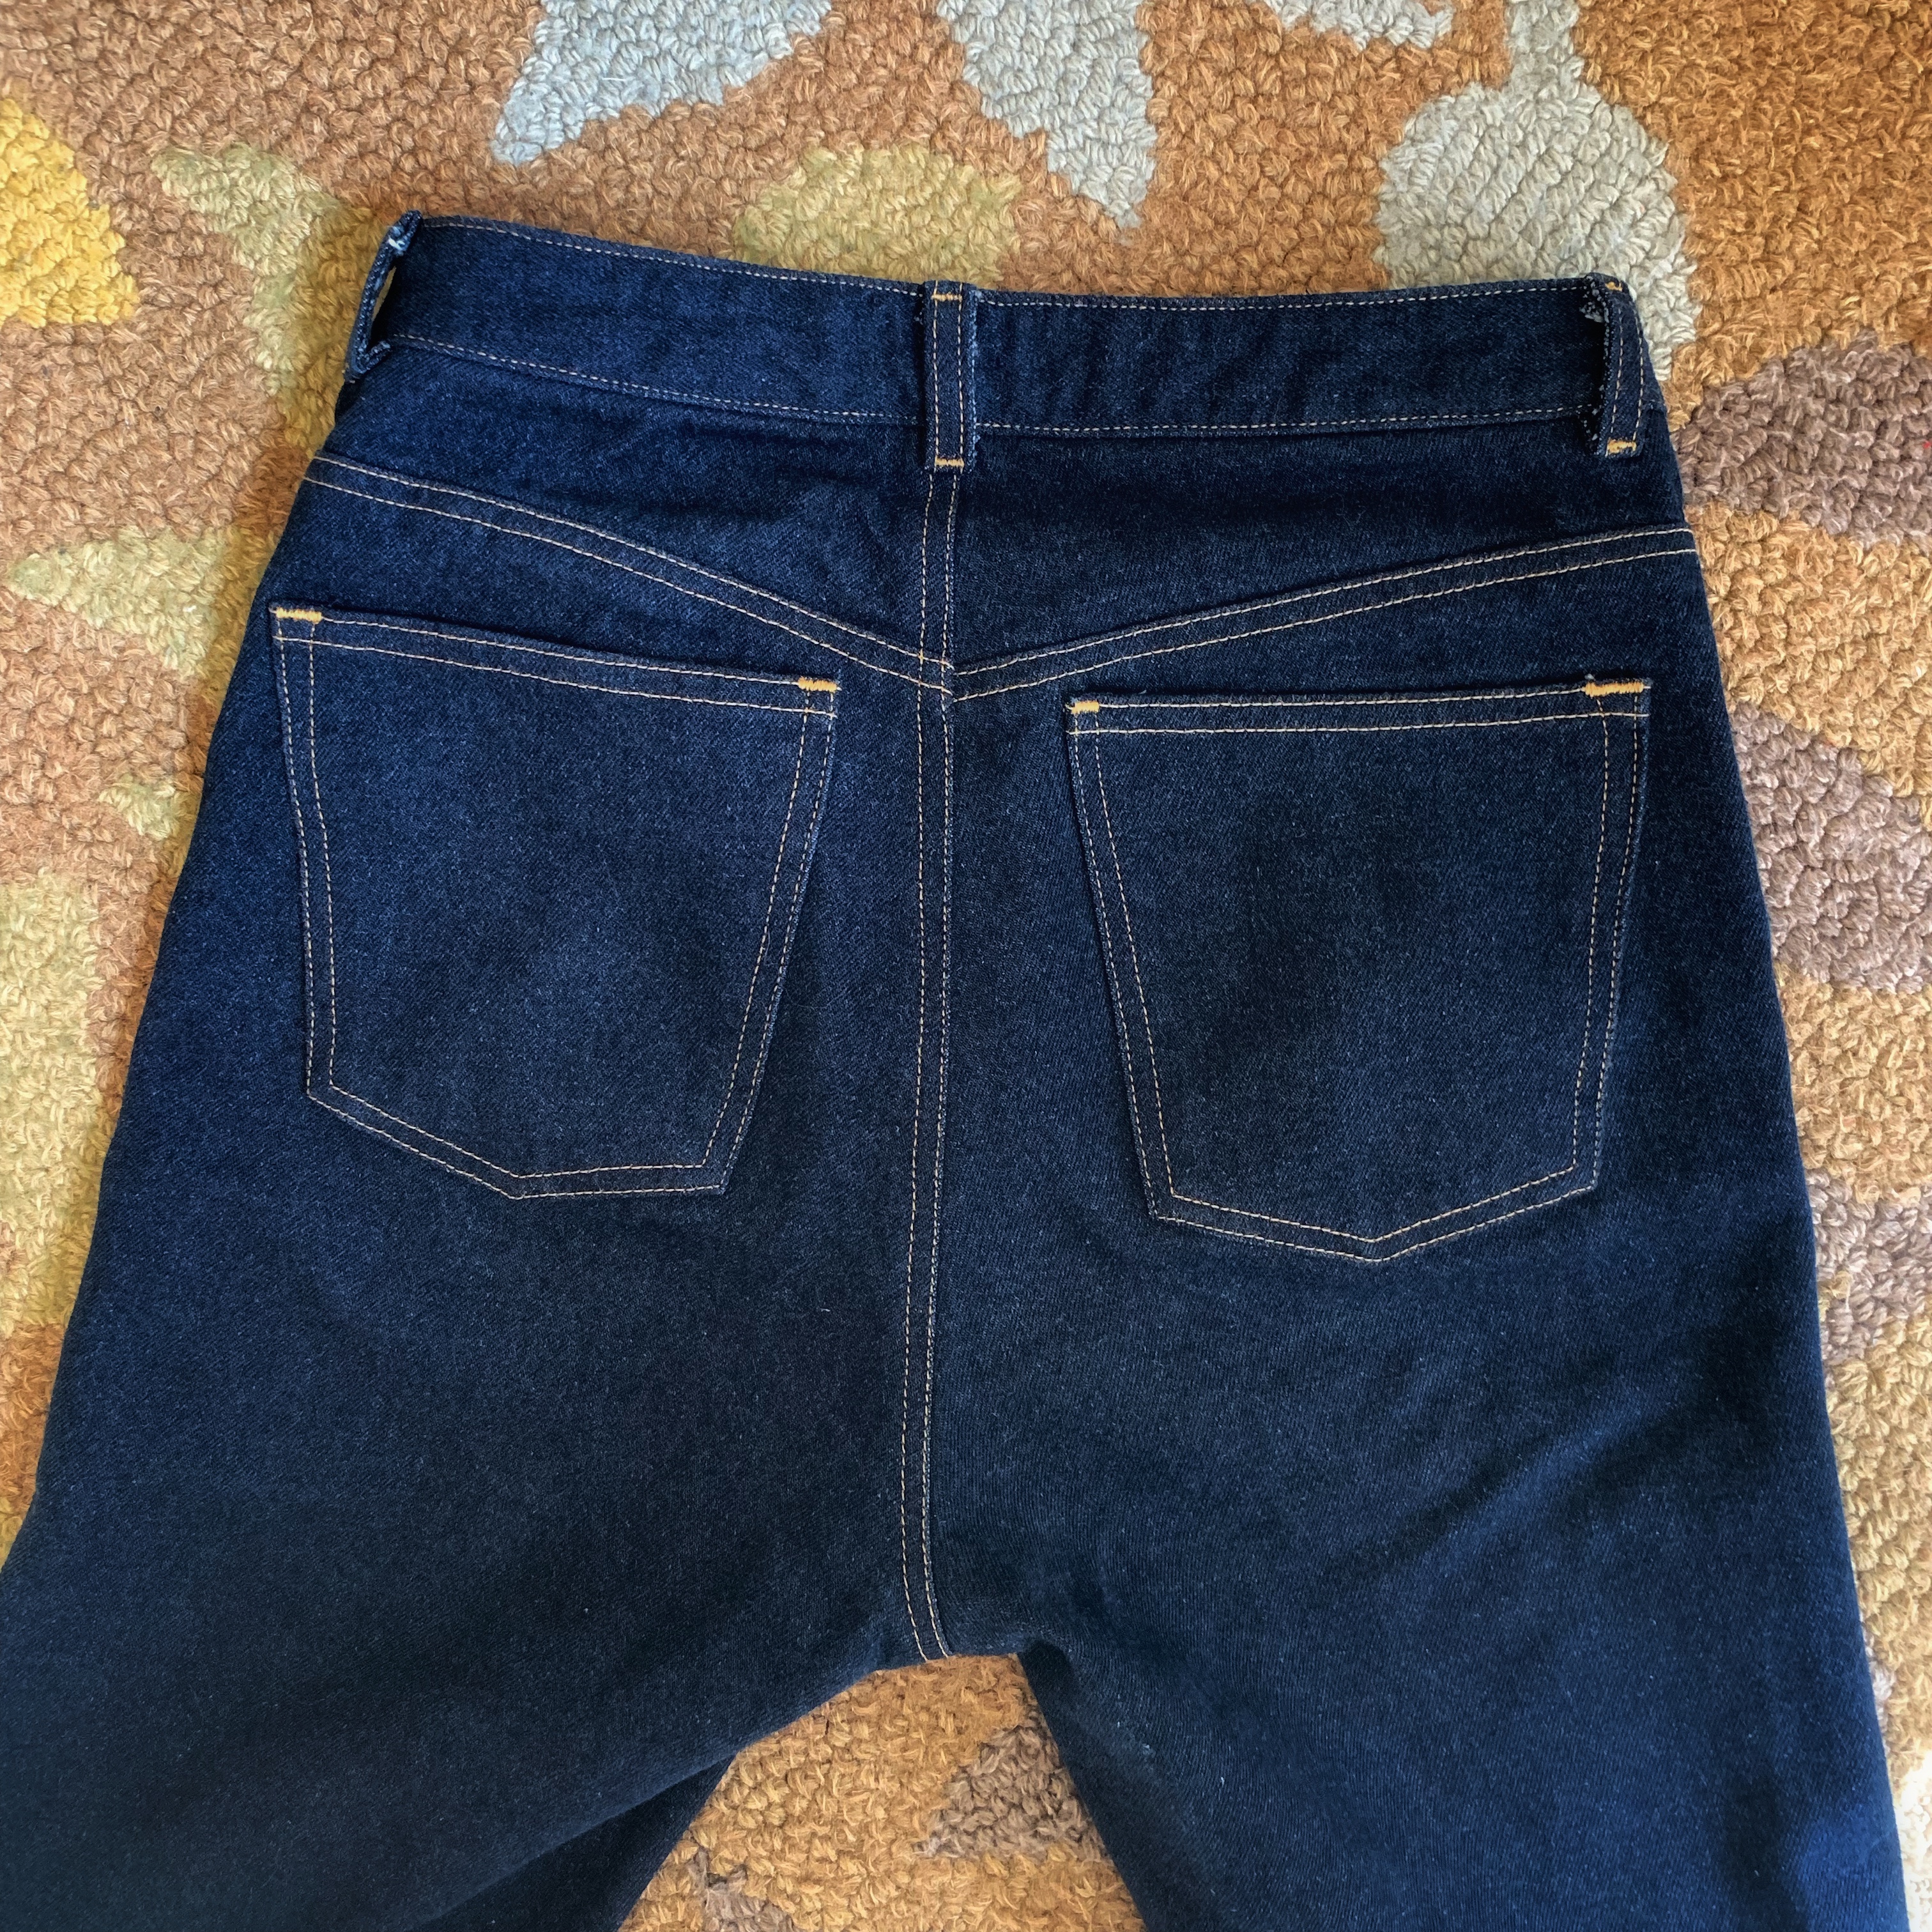
Here’s a tip: I did all of the topstitching using this slightly lighter-weight topstitiching thread from Etsy. I purchased the color L-3 in the #30 weight which is described as a medium-heavy weight, poly/cotton topstitching thread. This was actually recommended by Anna of Anna Allen Clothing some time ago. It was much easier to use and looks very classic. Still, bar tacks on the belt loops were near impossible. I may continue switch to a normal weight thread for those extra difficult areas next time around.
Jeans buttons were purchased from Wawak.com some time ago. Rivets were purchased from Threadbare Fabrics in antique brass.
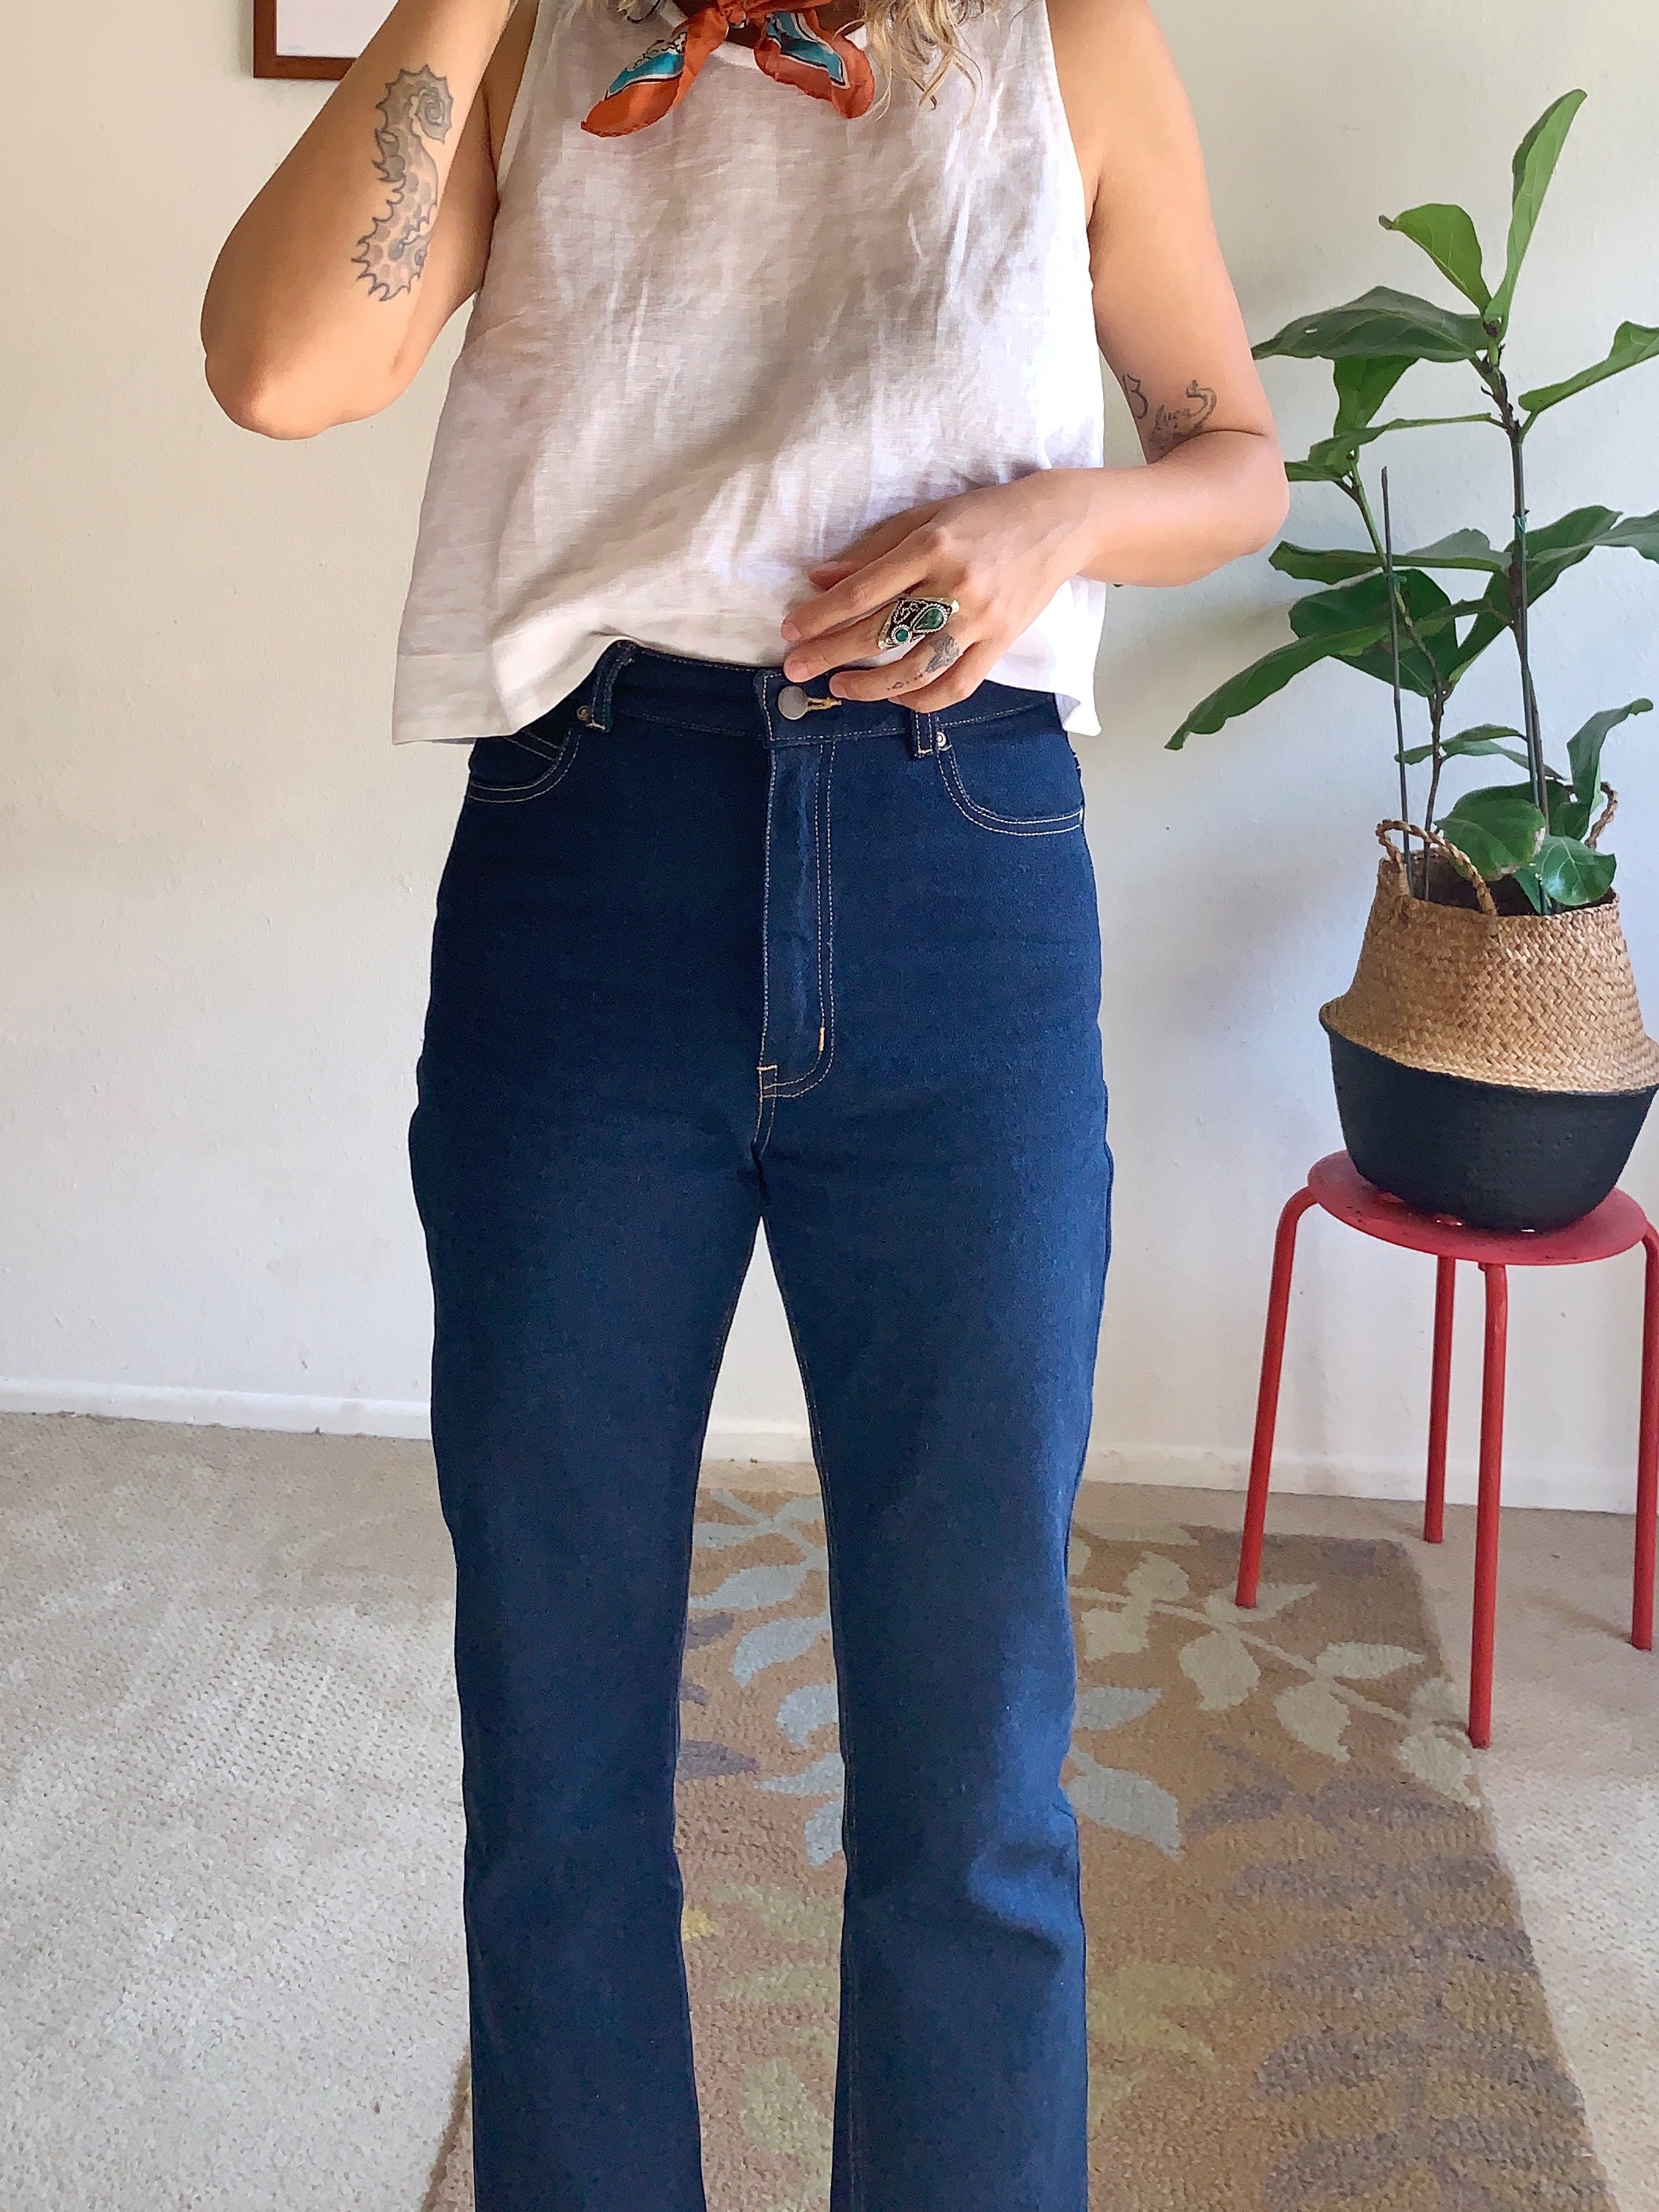
Adjustments
The adjustments I’ve learned to make are really important. My hip size is rather small compared to my waist (I have the exact same proportions as my mother, haha. Thanks mom.) My hips measure at just under 37 and my waist is about 29.5 on a good day. My proportions have always made wearing this style jeans super difficult.
What I find easiest is to cut out my jeans according to my hip size. I make some small tweaks to my back yoke pieces and I cut the waistband at a larger size.
So in this case I cut out my pattern pieces at a size 6, although I did end up skimming off a little bit more Right along the hip after trying them on before attaching my waistband. I cut out the waistband at a size 10.
To adjust for my smaller backside I trim about 1/4” off the inseam of the back leg piece beginning at the crotch and tapering off to nothing a few inches down the leg. This slightly shortens that back crotch seam. I also remove about 1/4” from the top of the back yoke pieces. The yoke pieces are angled to be more narrow at the top so trimming away at the top edge will in turn create a wider yoke piece which helps when attaching a wider waistband.
After attaching the yoke, when sewing the front and back pieces together I start off with a smaller seam allowance (I used 3/8”) at the top of the jeans and gradually increase the seam allowance to 5/8” as I work my way down. I take my time to make sure both sides look even. As mentioned above I went back in and removed another 1/4” from either side in the hip area. This makes sense being that my hips measure between a 4 and 8.
At this point I have no issues attaching my larger waistband. Everything comes together smoothly and they fit like a dream.
Final Thoughts
Sewing your own jeans feels like a legit super power. The only downside is every time I do sew a pair I’m reminded of how much I would benefit from owning a stronger sewing machine. Well, my Janome Dc2013 is still getting the job done without too much of a headache.
I couldn’t be happier with how my new straight legged Dawn Jeans turned out. Watching them age and fade is the next fun part. Thanks for reading!


10 Comments
Emily Sanchez
Hi there! I absolutely love your new pair of Dawn’s and it also sounds like I have a similar body shape so I’m going to be applying some of your adjustments. I also ordered the Citron topstitch thread you recommended from Anna Allen and was confused when it showed up on a big cone– I’m curious how do you work with that cone?
I love your posts! Thanks for the inspiration!
Angie Hook
Oh, thank you! I’m so glad you’re enjoying the blog. I actually placed my cone in a mug next to my sewing machine, haha. But your machine may come with an extra spool pin large enough to hold it. Those usually are inserted in the top of the machine somewhere. Thanks again, and feel free to reach out to me through instagram any time if you have questions. Sometimes I don’t get to these fast enough! xx
Kelcey
Thanks for the overview! Really helpful details and love seeing all the views. I’ve made the tapered and wide leg view so far, next I want to try the straight leg and maybe lower the rise a bit for more comfortable sitting lol. Right now they sit just below my sternum so not the most comfortable for long periods sitting. ?
Angie Hook
Great idea! Glod you found the review helpful, and good luck with your next pair. <3
lily
hi, I love the yellow pair and would love to know a bit more about the making of that pair? Did you prewash the raw denim or did you make the jeans a couple sizes big? Wondering how you figured that out. I really want to make a pair with the same material. Also curious if you always do a zipper fly or if you sometimes do a button fly?
Thanks for your help 😉
Plus Size Maxi Dresses
Thanks for the great information for us.
King regards,
Boswell Zacho
Vivian
I’m really loving your blog! Also which pattern did you use for the yellow top that you’re wearing with the yellow jeans? Love the lines!
Keep it up!
Angie Hook
Thank you so much! That is Papercut Pattern’s Pinnacle top.<3
Maria
I really appreciate your thorough review of this pattern. I’m so very glad to have found your blog! <3
Sylwia
Thanks for your review. I’m glad I stumbled on it just as I am about to make my first pair of Dawn jeans. I have almost the same waist to hip proportions as you, and appreciate the fit and construction tips.